3D Printed Guardians of the Galaxy Star Lord Props
Background
The year-end function for the company I work for was Comic-Con themed.
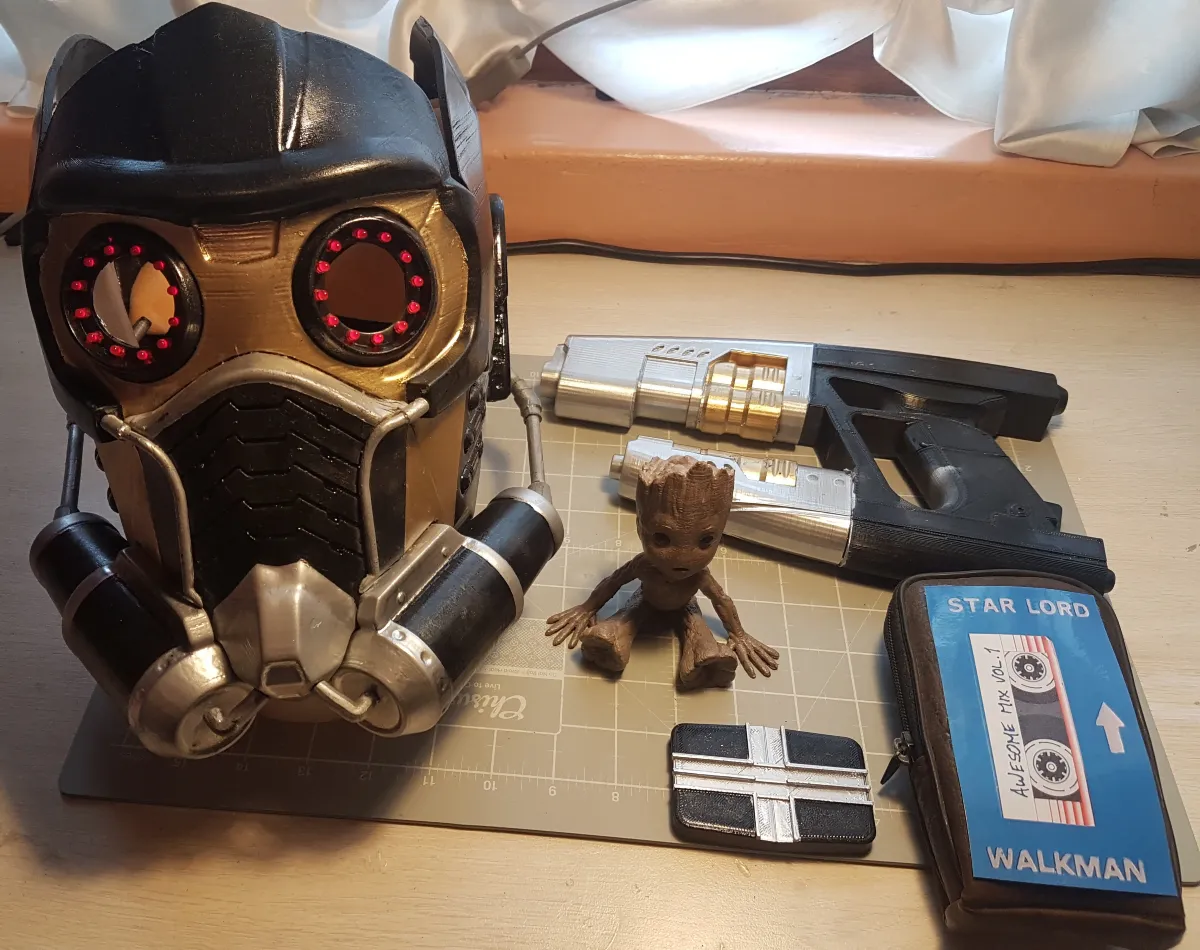
Since I recently bought a 3D printer (Anet A8), I was looking for something that I could print instead of buying/hiring a costume. Fortunately, Thingiverse user “youngs66” made an incredible design of the Star Lord helmet from the popular movie Guardians of the Galaxy.
After I saw this design, I thought it’ll be a good test for my printer and it’ll be an awesome project to work on! I started printing the parts approximately 3 weeks prior to the party, and in around 2 weeks I had printed the parts. I had thought the hardest part was over — I was quite incorrect in my assumption!
Step 1: Print the Parts
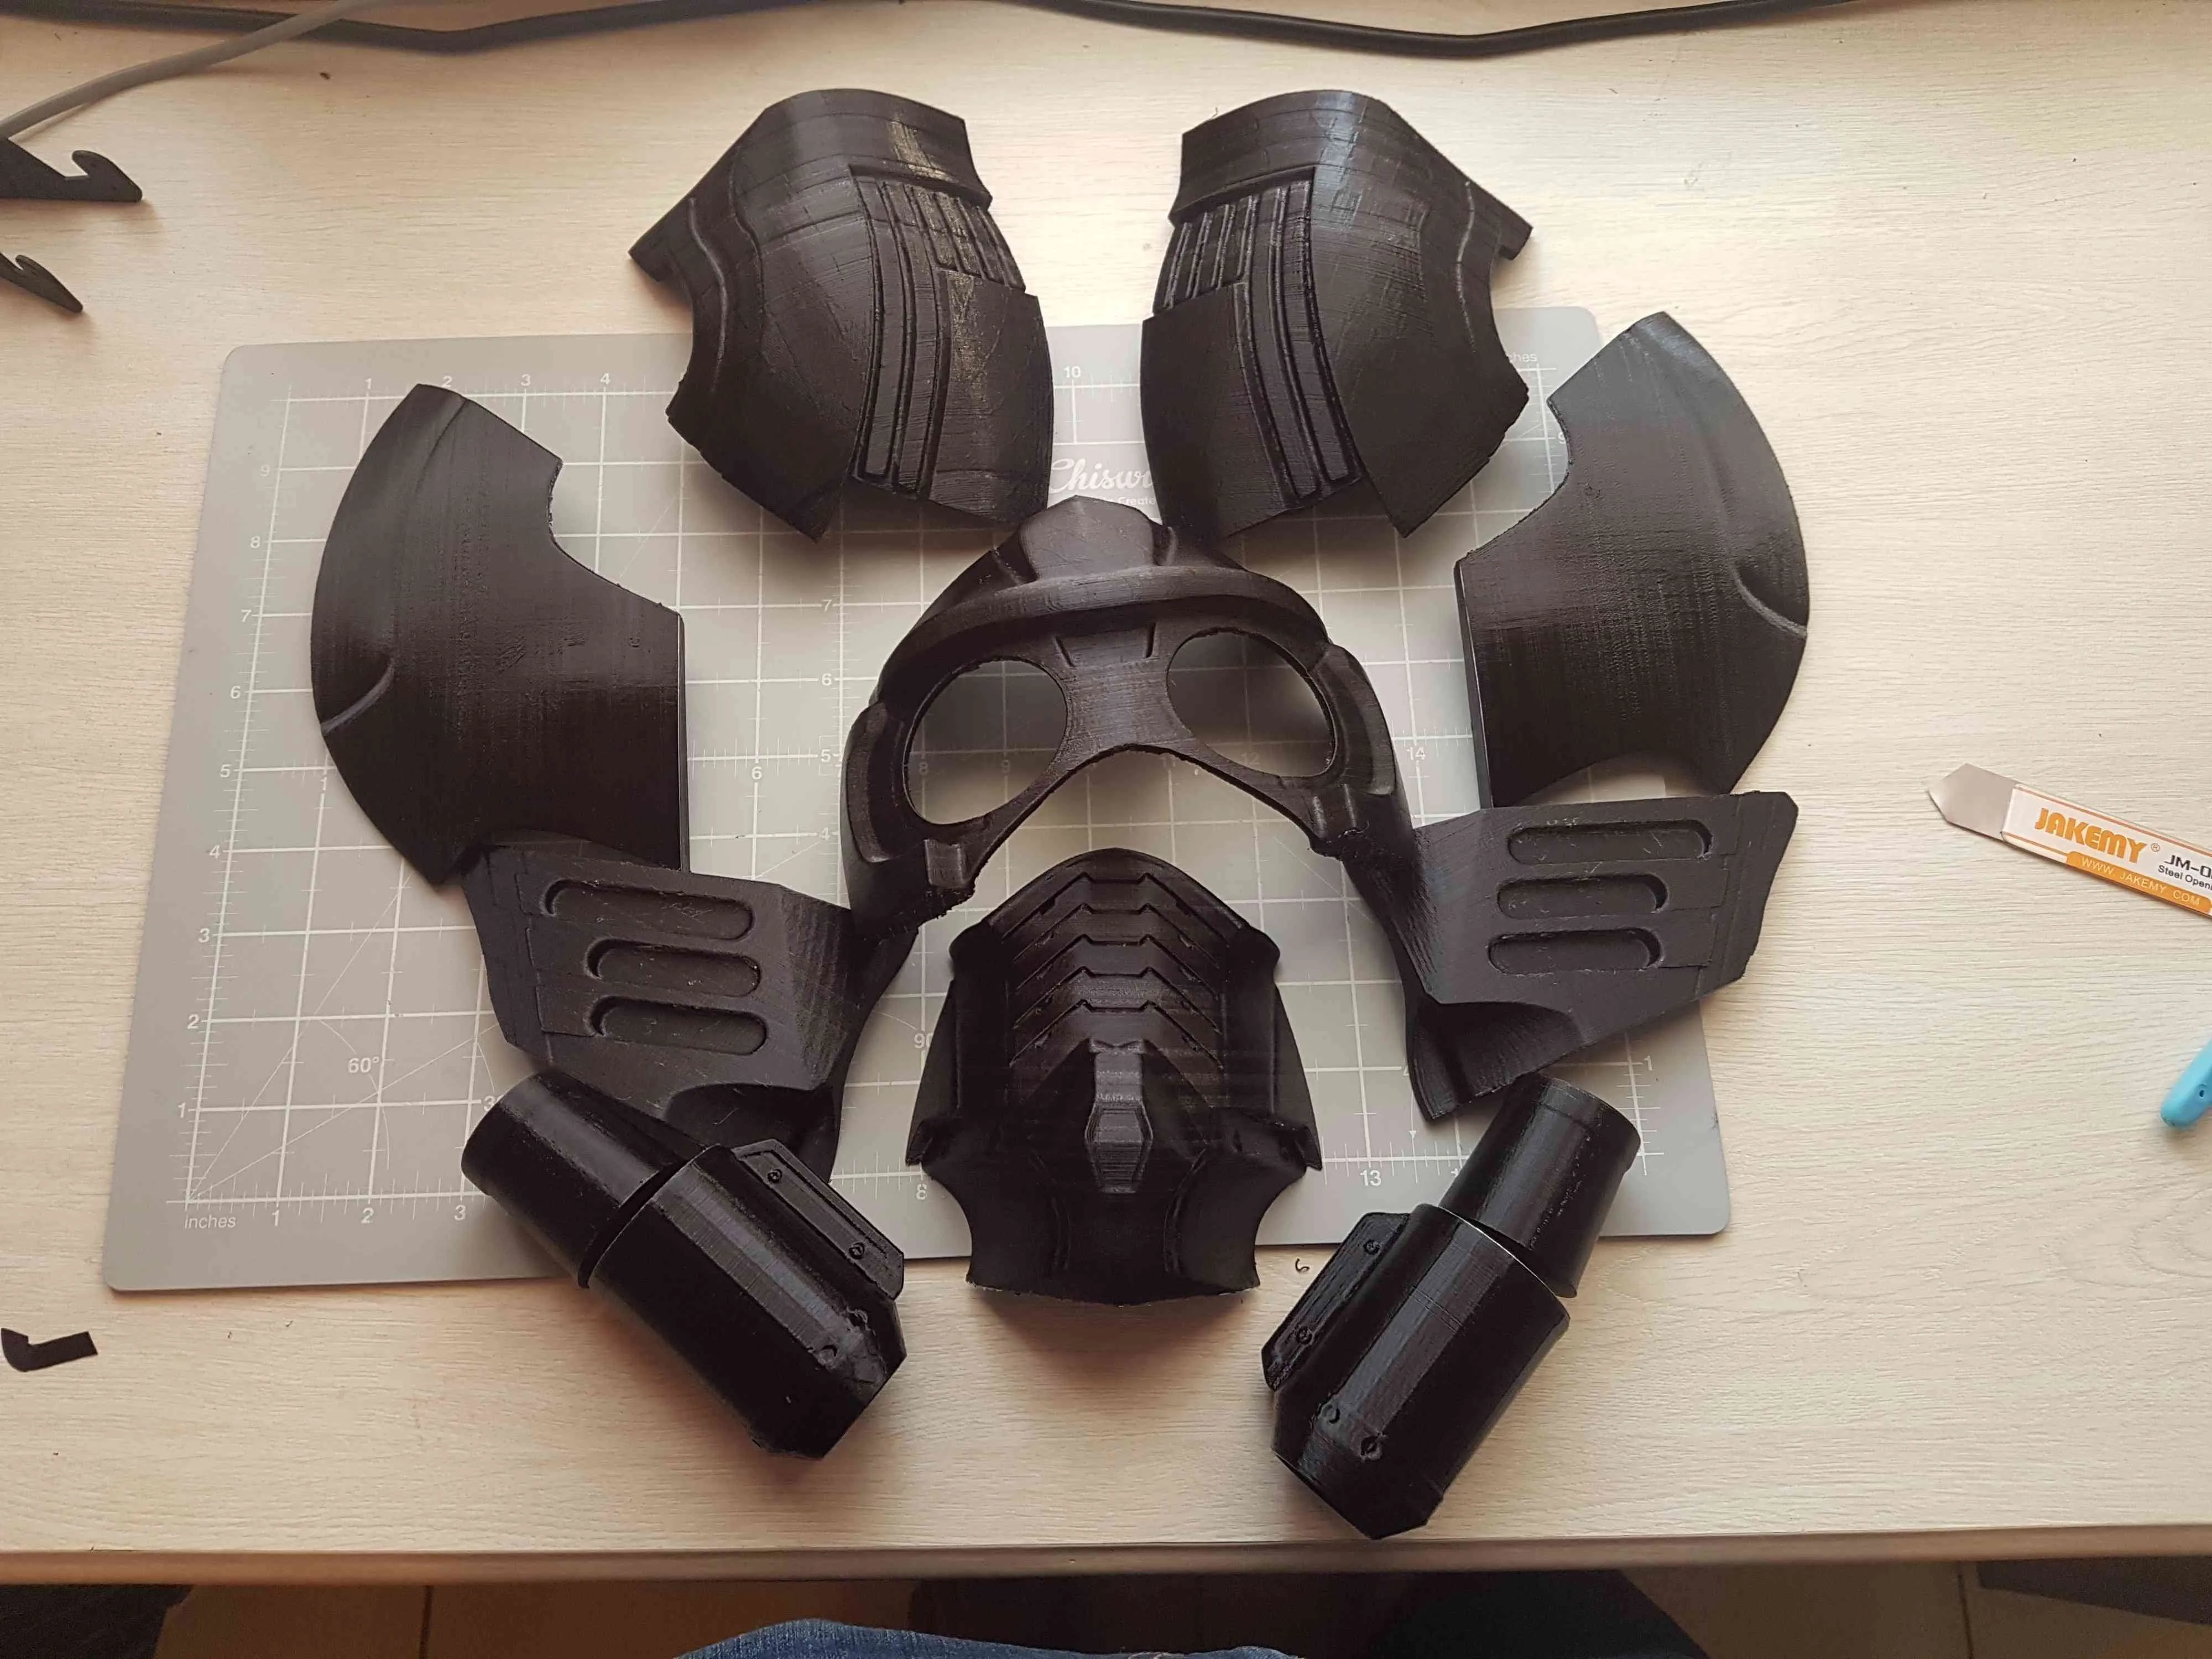
I had the parts printed on my Anet A8 printer. I used a layer height of 0.1mm for the small pieces and 0.2mm for the larger ones (I was running out of time and was willing to sacrifice a small drop in quality). I was brave and left some prints overnight and fortunately they came out ok. I was lucky that I didn’t have any major failed prints!
Step 2: Sand and Coat in XTC-3D
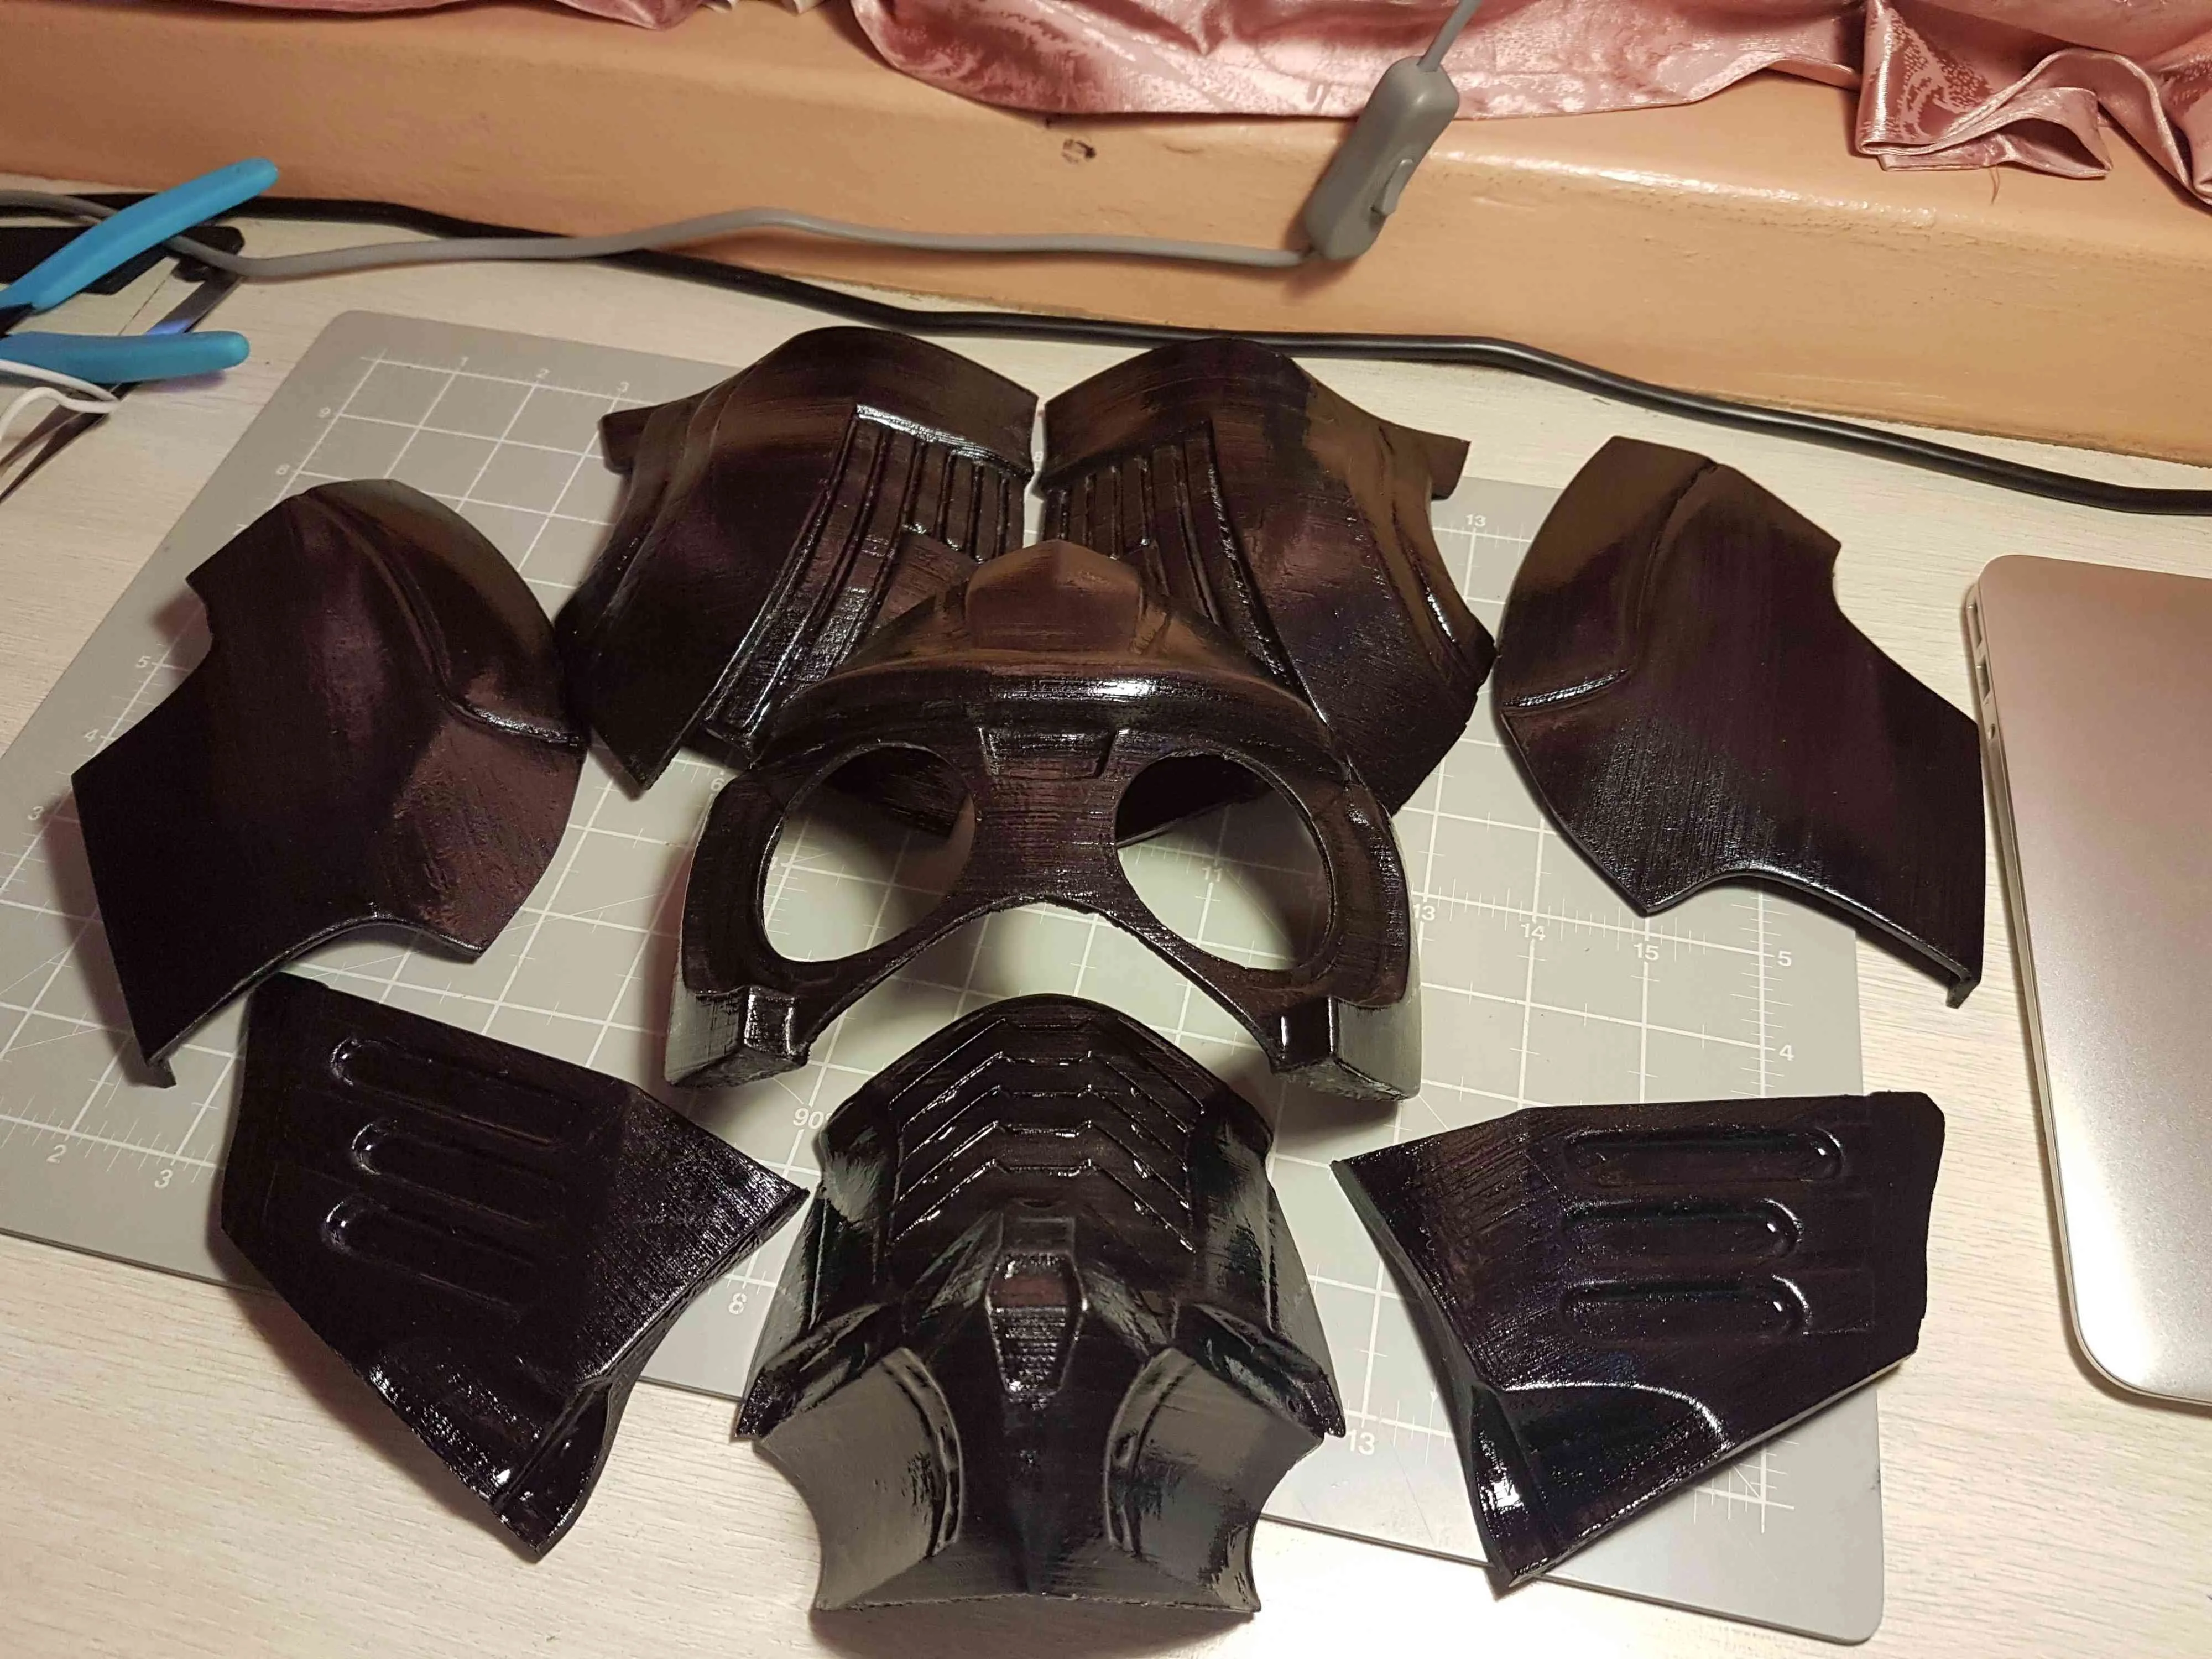
After reading a few articles online regarding smoothing 3D prints before painting them, many recommended XTC-3D. So I ordered myself a box and was ready to make my prints look shiny! After sanding down with 220 grit sanding paper, I coated the parts using the resin.
Sand down parts until they feel smooth:
After the XTC-3D cured:
Please note
- Please, please, please do NOT try and speed up the curing process! The box tells you that you can reduce the curing time from 3.5 hours to 15 minutes if you apply some heat. I tried this using a hairdryer and ended up warping some of the parts (I used PLA, which has a lower melting point than ABS). Fortunately I noticed this half way through and managed to bend them back into shape. However, they didn’t fit perfectly. Just take your time — I’ve learnt my lesson with this!
- When the box says it cures very quickly, it means it! As suggested, fold 2 sheets of foil and create a large surface area — this significantly increases your working time!
- This stuff causes an exothermic reaction when there’s a high density of the resin — it gets really hot if you have a large amount in a small measuring cup. I was shocked when I used a large sponge, which absorbed quite a bit of the resin and started warming quite a bit! Use a small sponge, start with a little amount, and coat the parts with very thin layers (0.4mm recommended).
Step 3: Sanding, Priming, Masking and Painting
Sanding
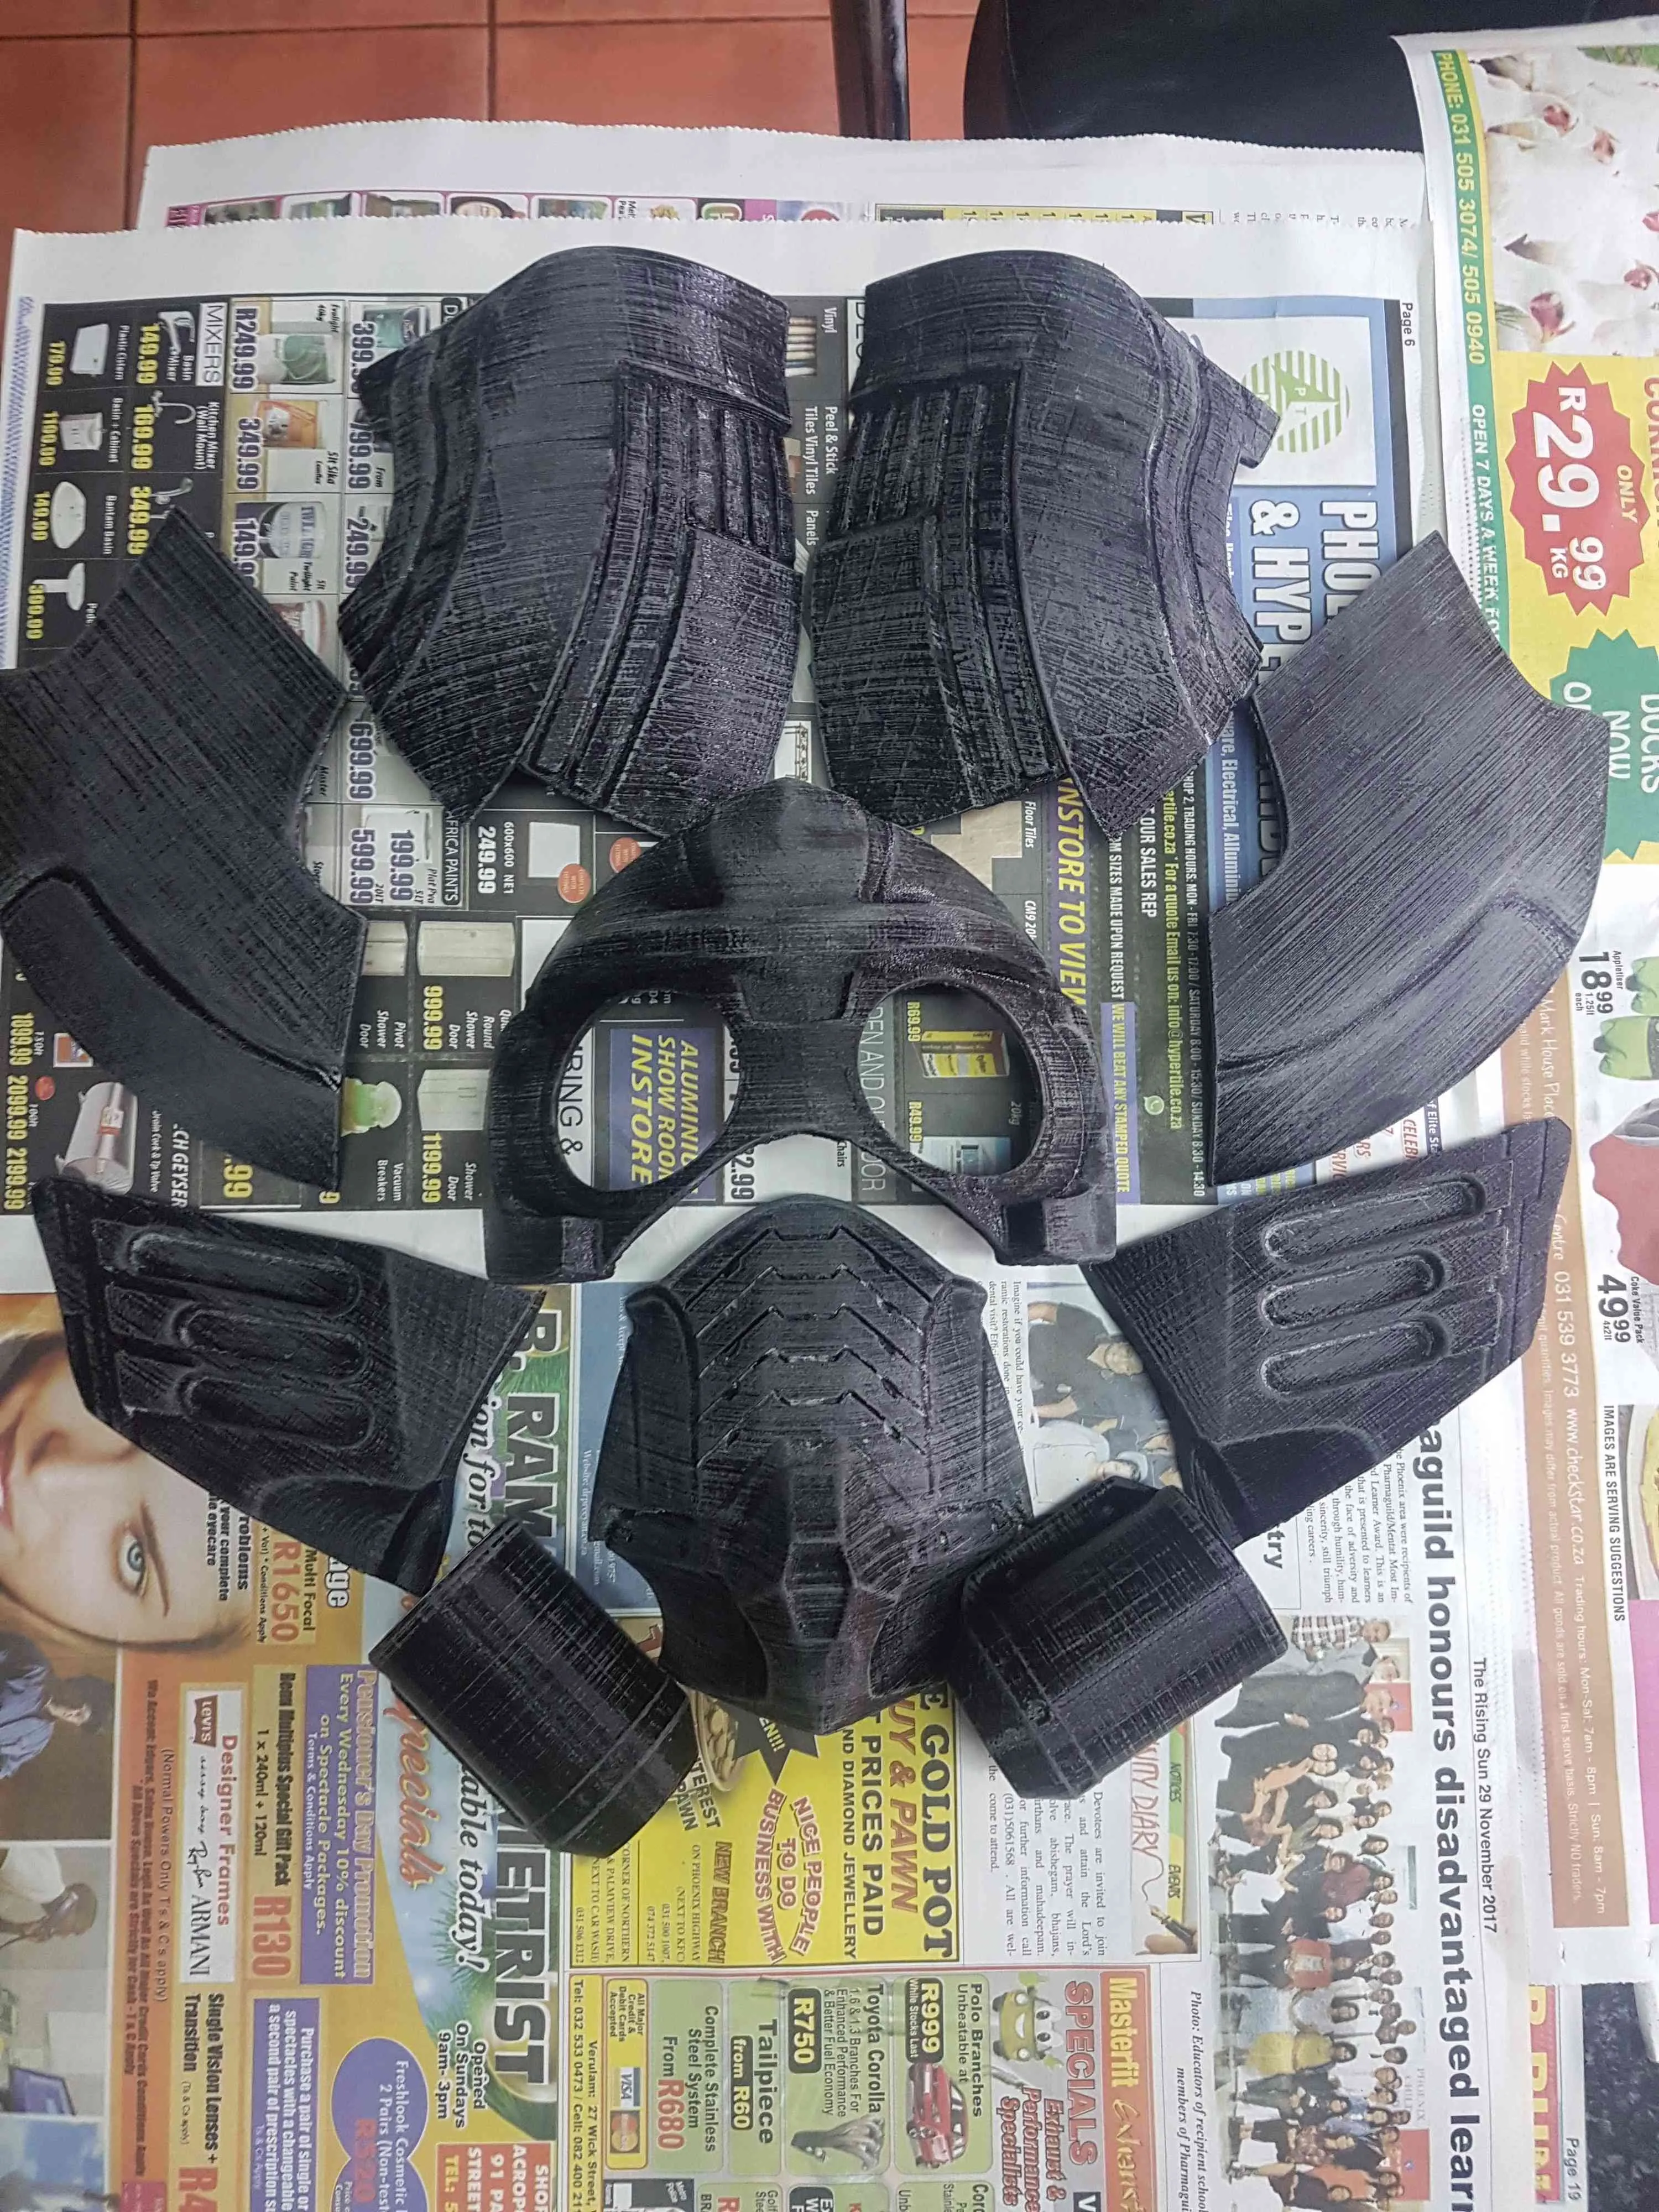
Once the XTC-3D resin cured, it was time to take off the shine from the prints and smoothen any rough areas. I used 220 grit wet sand paper for this.
Priming
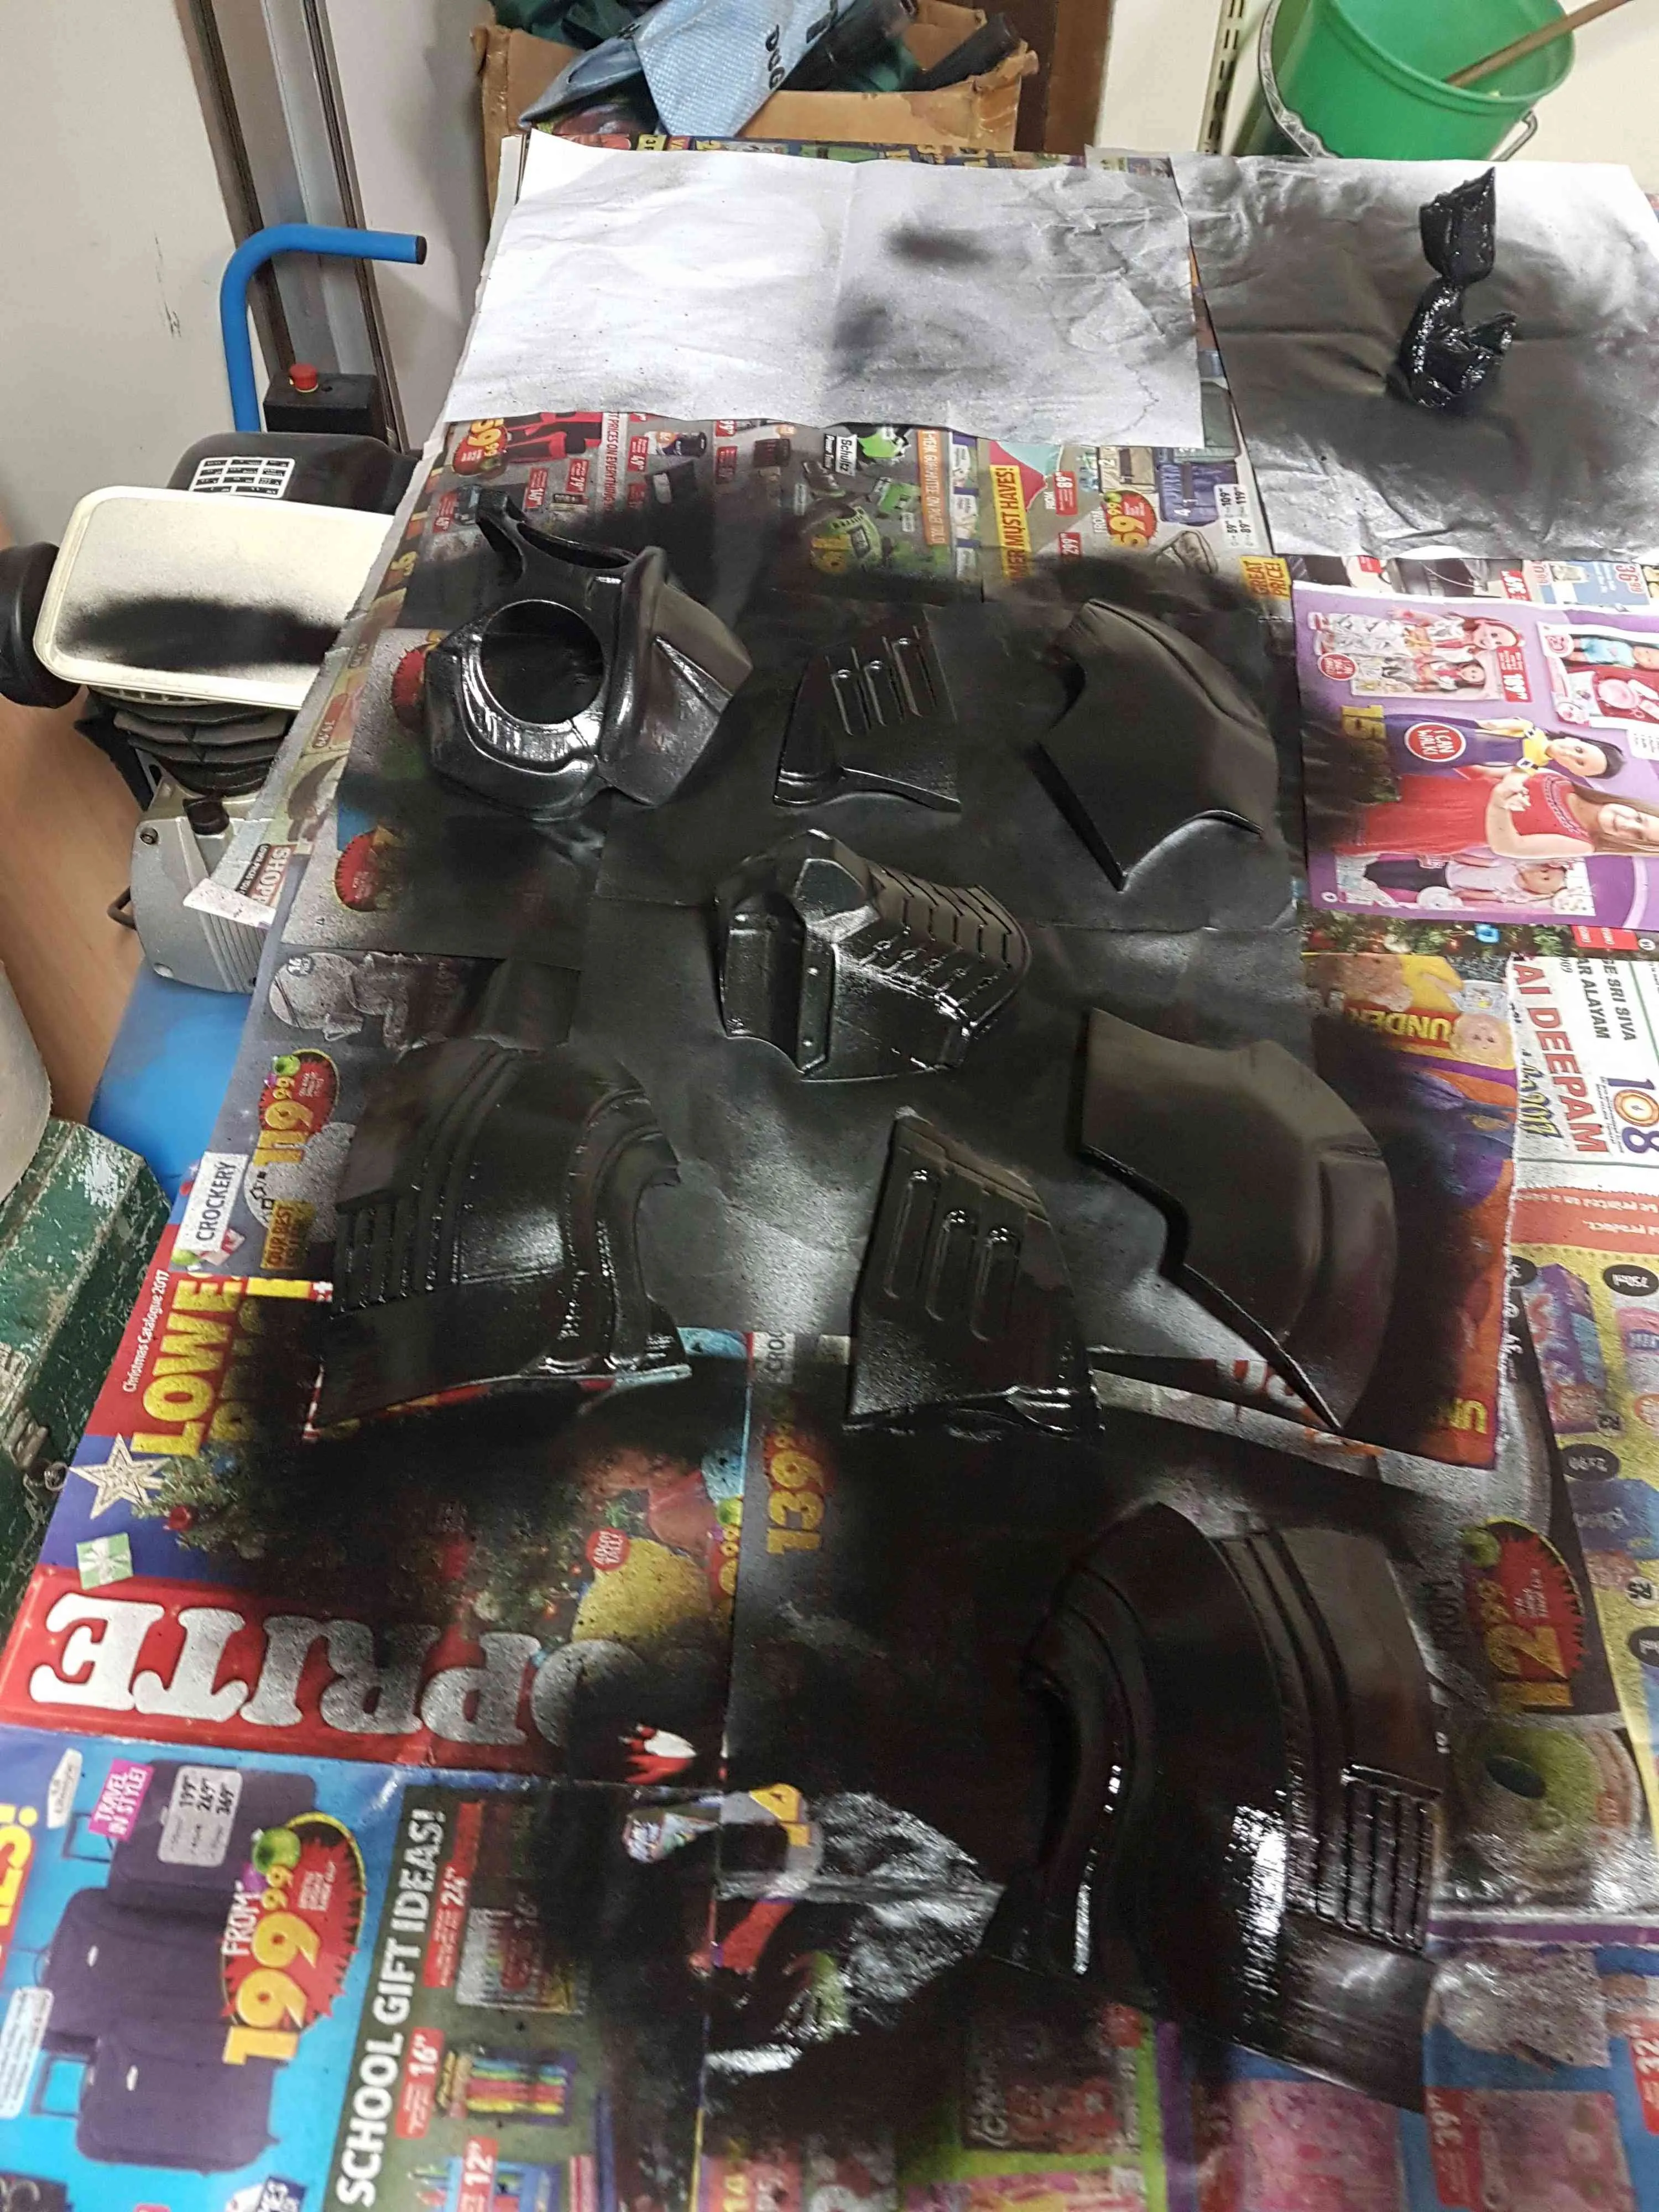
I first sprayed all the parts with Black Rust-Oleum Primer+Paint.
Masking
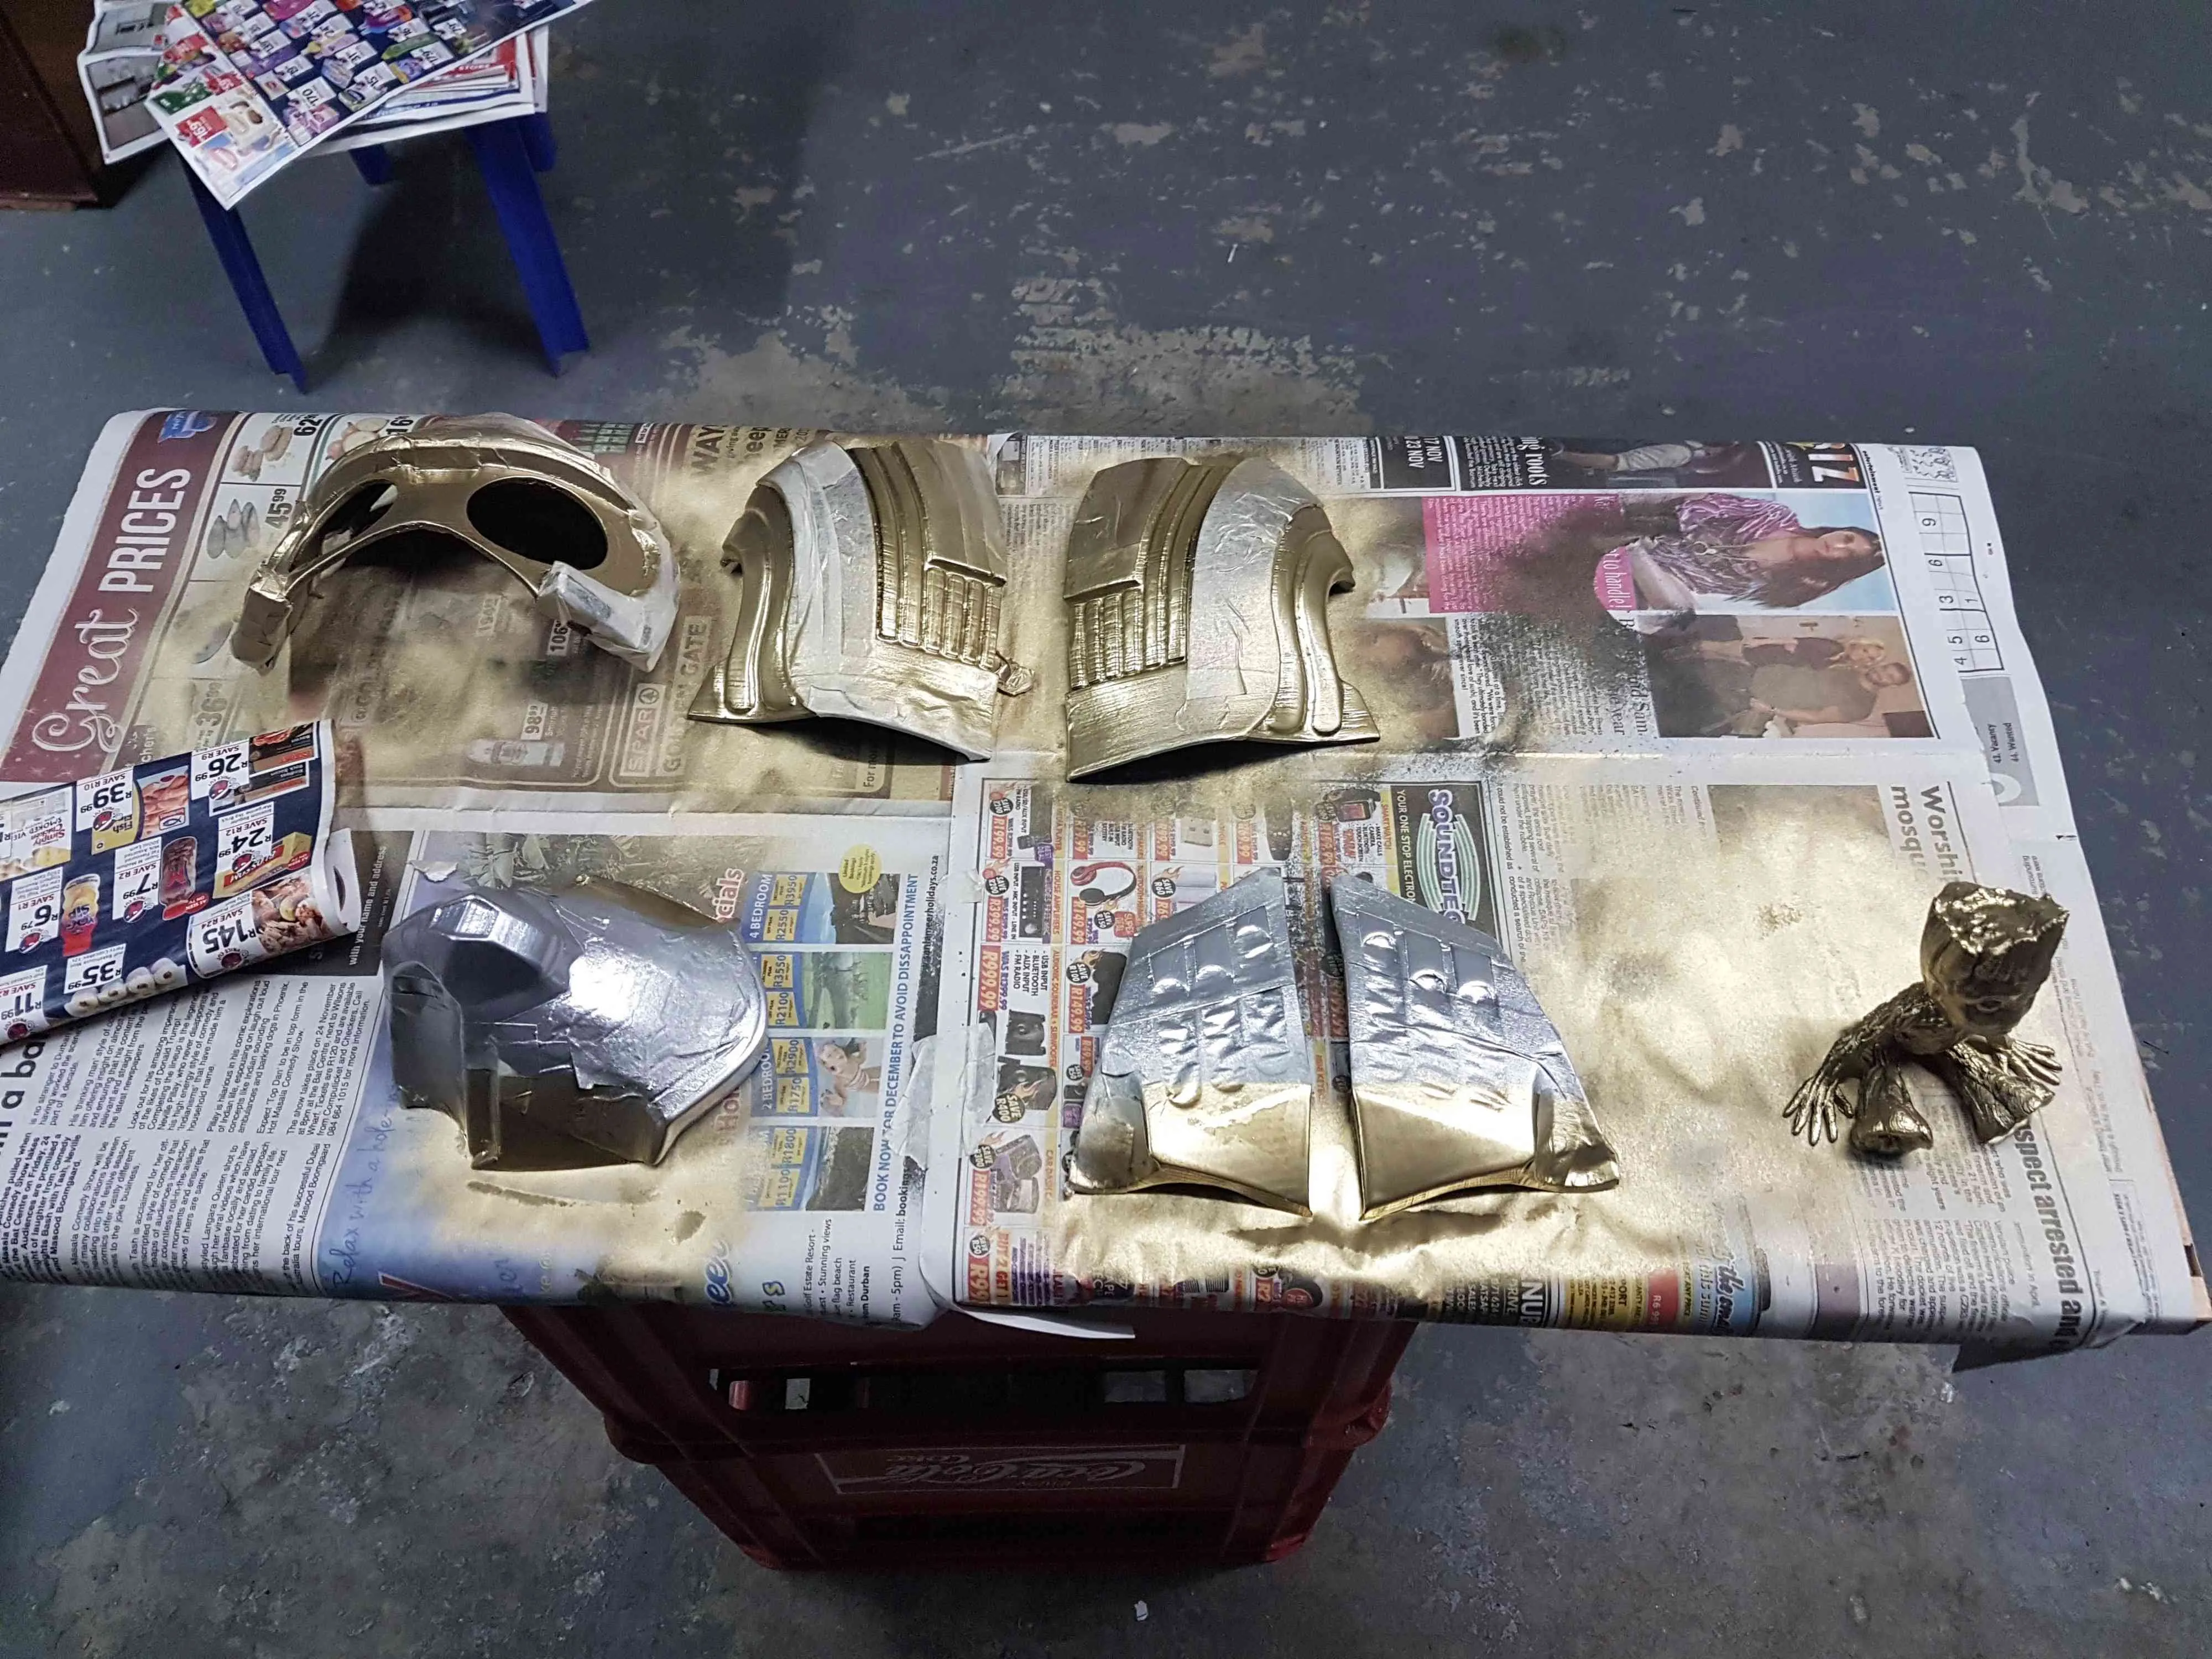
I masked off the parts accordingly.
Spray Painting
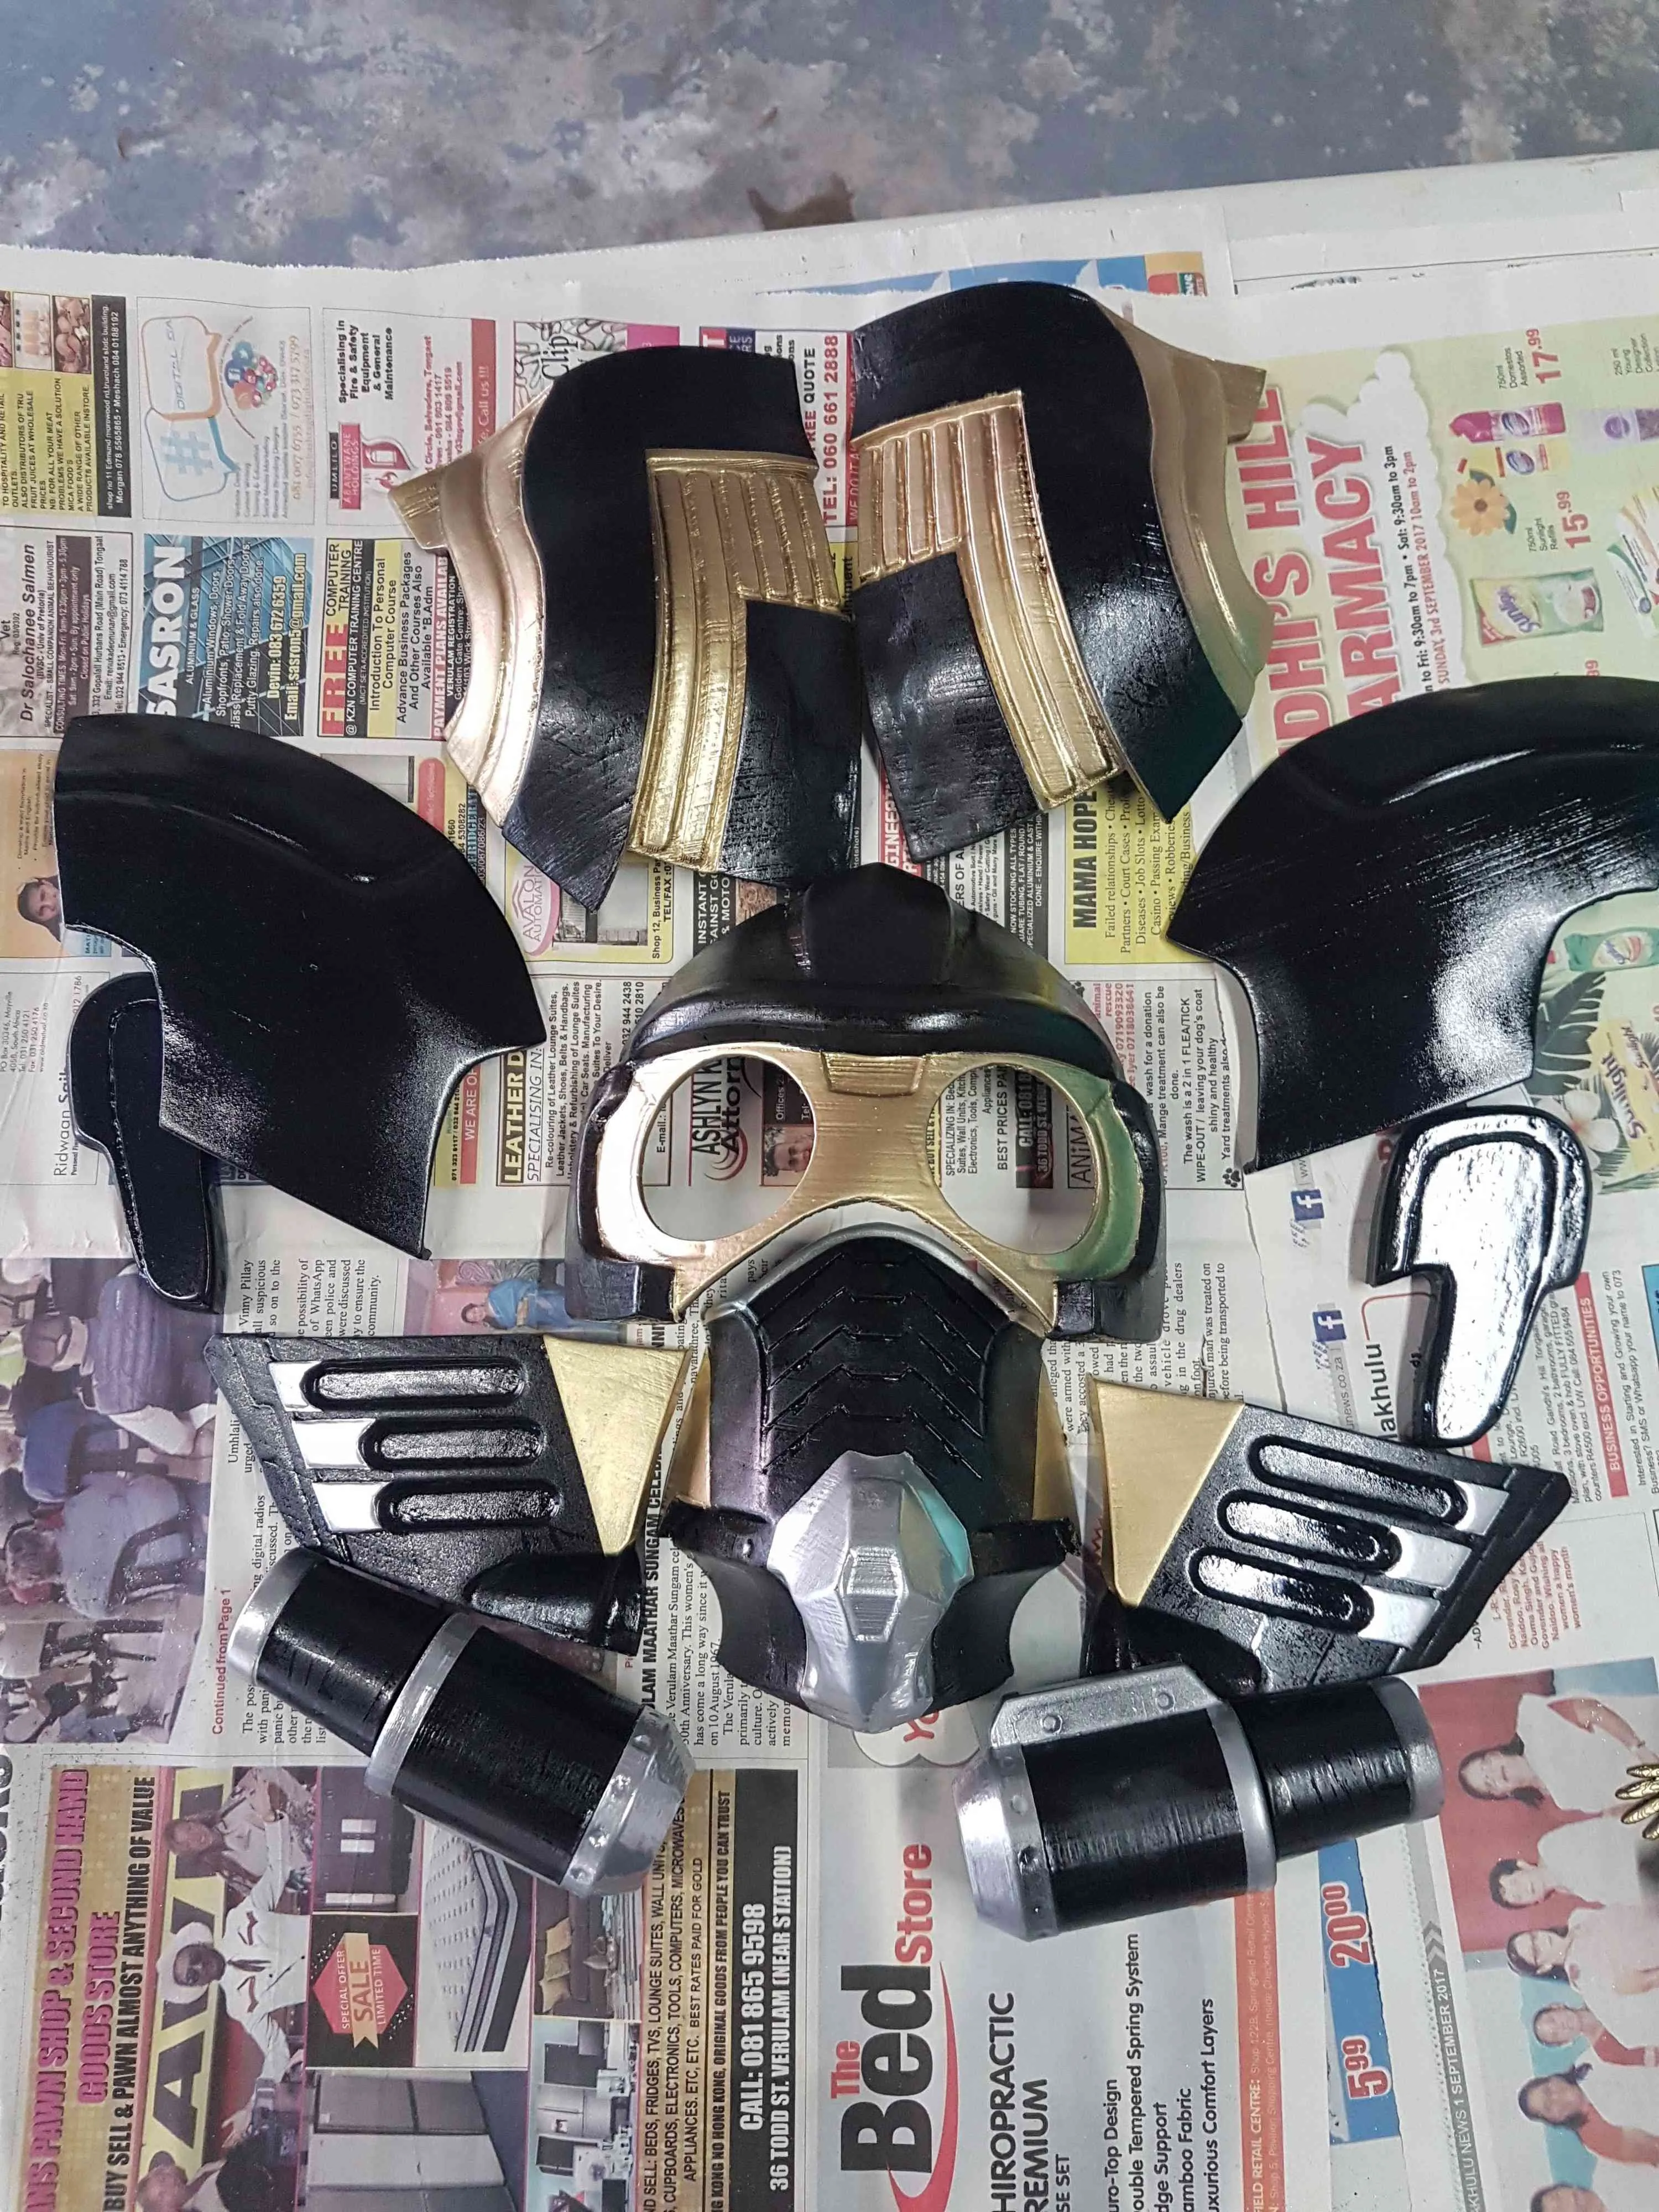
Step 4: Gluing the parts together
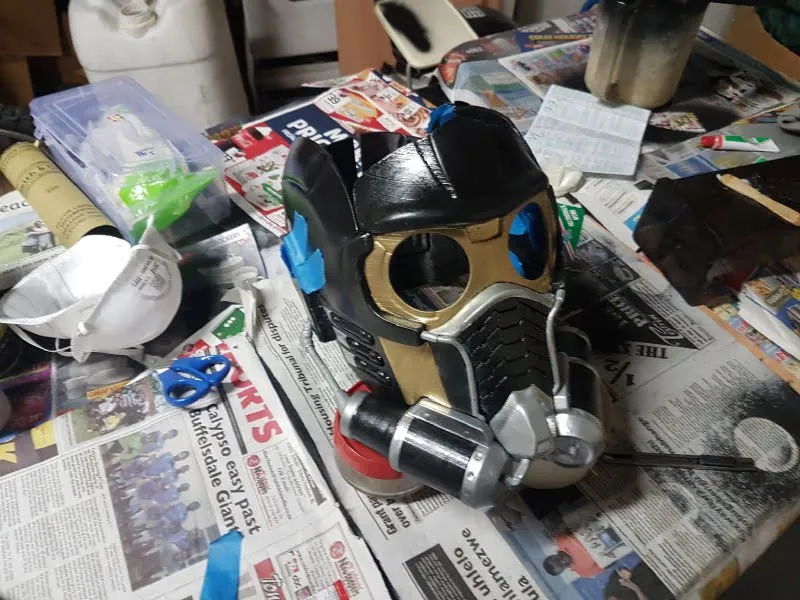
I used Pratley Quickset Clear Two-part Epoxy and Super Glue to stick the parts together. Since I needed to fill in some gaps and didn’t have time to do it the proper way (using wood filler, sanding, and spraying again), I used the clear epoxy. For the smaller parts on the sides of the mask (pipe fittings) I used super glue. I also used painters tape to hold the parts together while the epoxy dries (15 minutes to set, 30 minutes for 75% strength, and 24 hours for 100% strength).
Step 5: Electronics
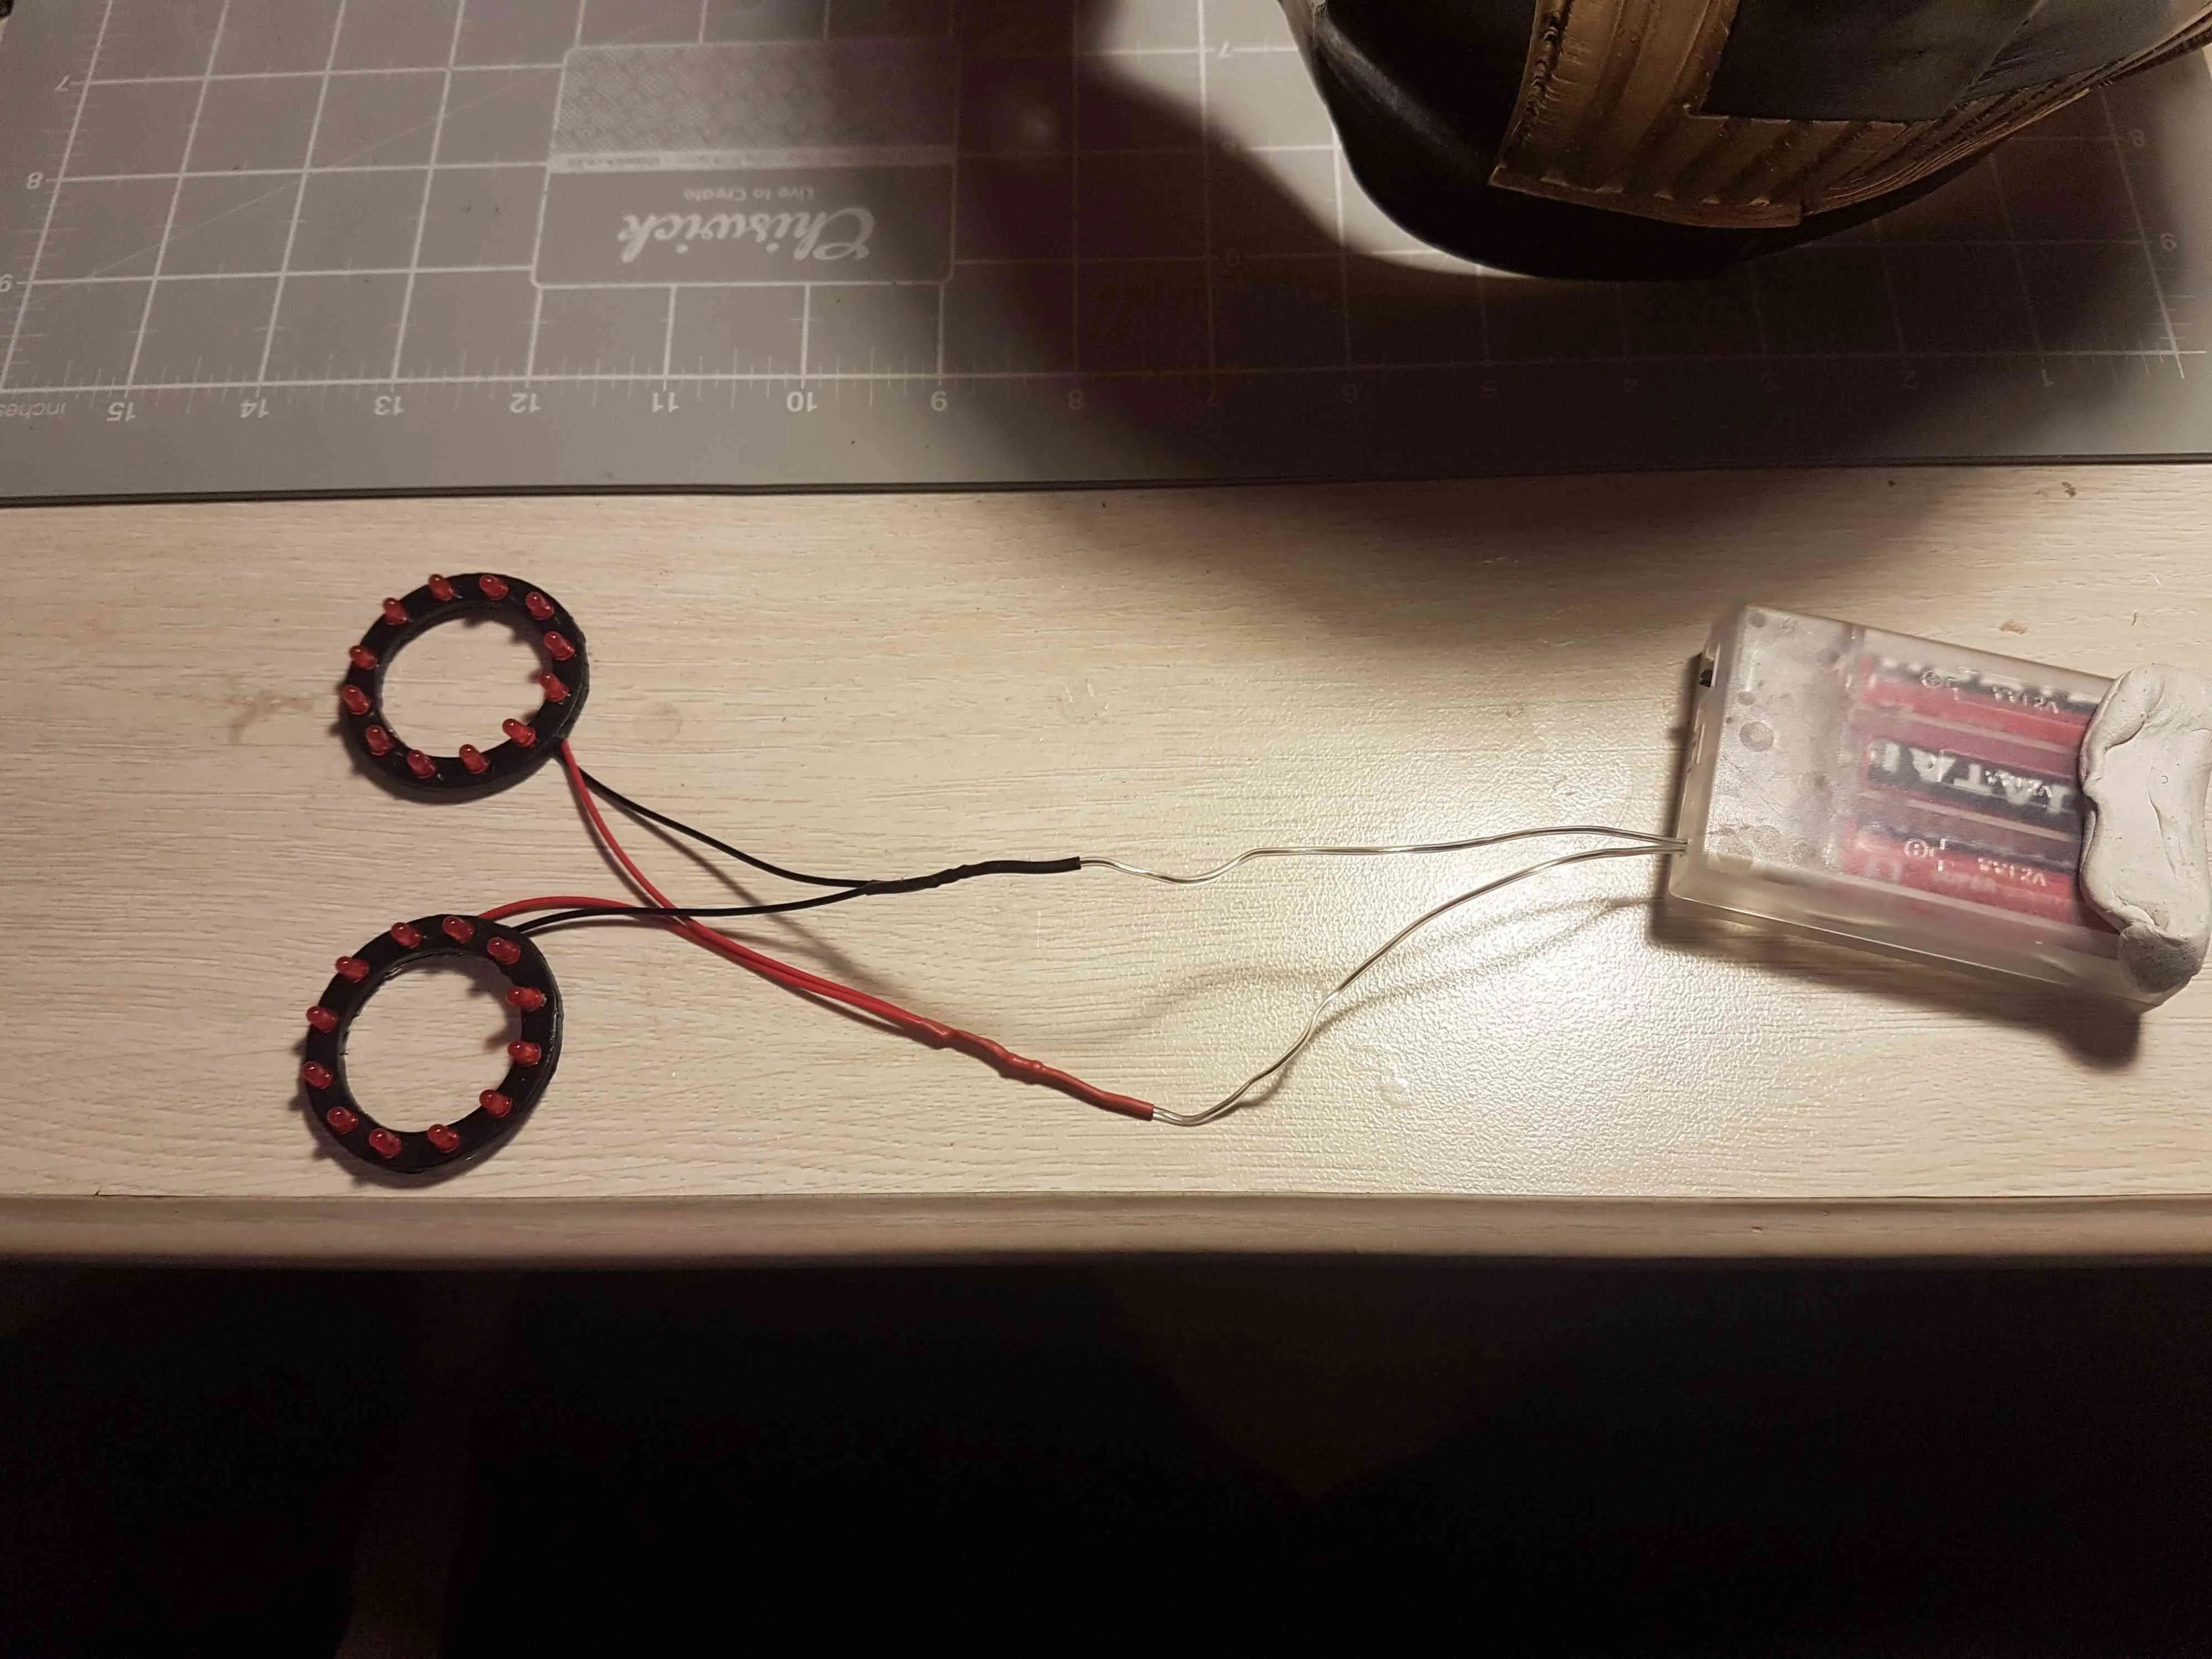
The model included an LED ring for the eye socket. I had 5mm LEDs, however they were too large, so I purchased some 3mm red LEDs and soldered them in parallel.
Time to do some calculations!
- With the help of Ohm’s Law: V = IR (Voltage = Current × Resistance)
- The forward voltage of the red LEDs is 1.8V (the colour of the LED does matter)
- I wanted to supply 25mA (full brightness) to each LED
- For a power source, I used a pack of 3 × 1.5V AA batteries, which outputs 4.5V. I got the pack from a set of Christmas lights I had lying around. The cool part was that it was in an enclosure, had an on/off switch, and had a mode to pulse the LEDs! :D
- I needed to work out what resistor to use to limit the current supplied to the LEDs. If you connect the batteries directly to the LEDs, you’ll be driving them very hard with no control over the current supplied. You could probably get away with it using AA batteries, but if you used an 18650 Li-ion battery — be prepared for the magic smoke!
- Using Ohm’s Law:
- V = IR
- 4.5 = 0.025 × R
- R = 4.5 / 0.025
- R = 180 Ohms
- The closest I had was 150 Ohms, so I used that instead.
I then soldered the LEDs in parallel — this meant the current drawn is multiplied by the number of LEDs connected. Each LED draws 25mA, and I had 24 in total connected in parallel. That means all the LEDs draw a total of 600mA. If I had a battery with a capacity of 600mAh, it would theoretically be able to light up the LEDs for an hour.
Step 7: Finishing touches to the helmet
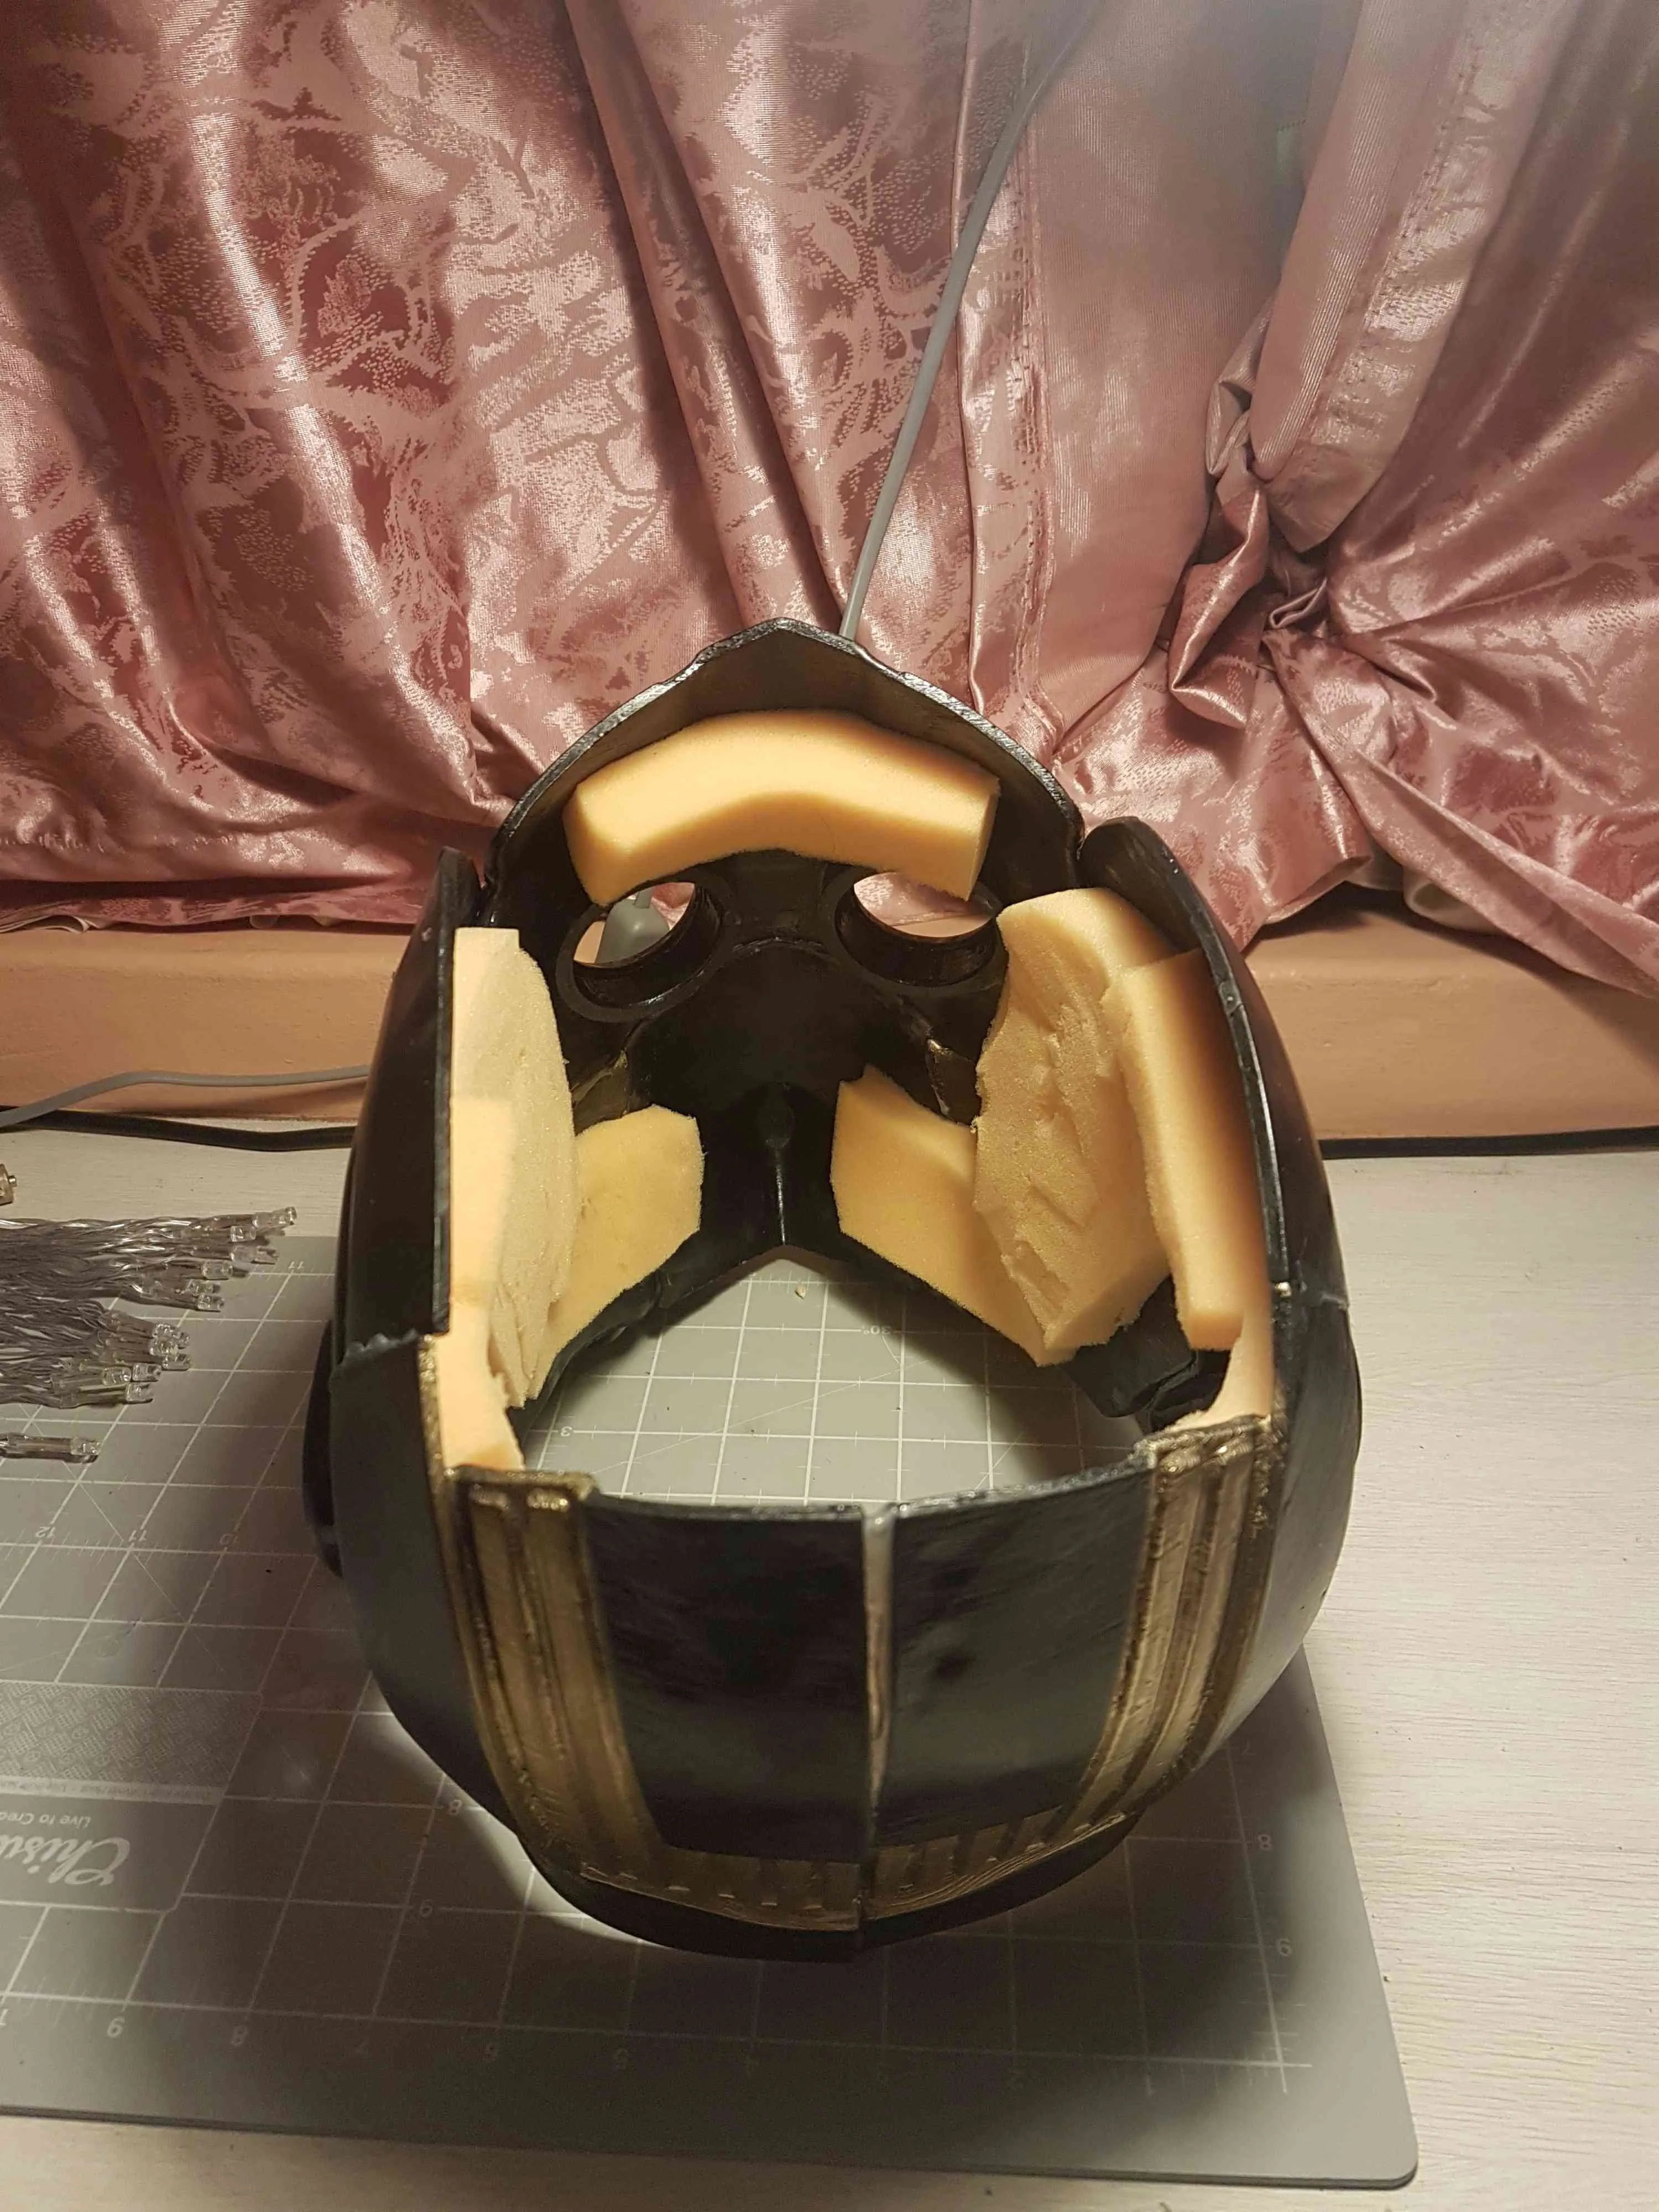
- I used some epoxy on the inside of the helmet to fill in any gaps, for peace of mind!
- I then stuck on some foam from a soft sponge to make sure the helmet fits me correctly.
Step 8: Printing Baby Groot and Belt Buckle
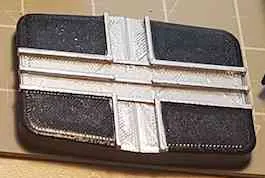
I found a design for Star Lord’s belt buckle, so I printed it! :)
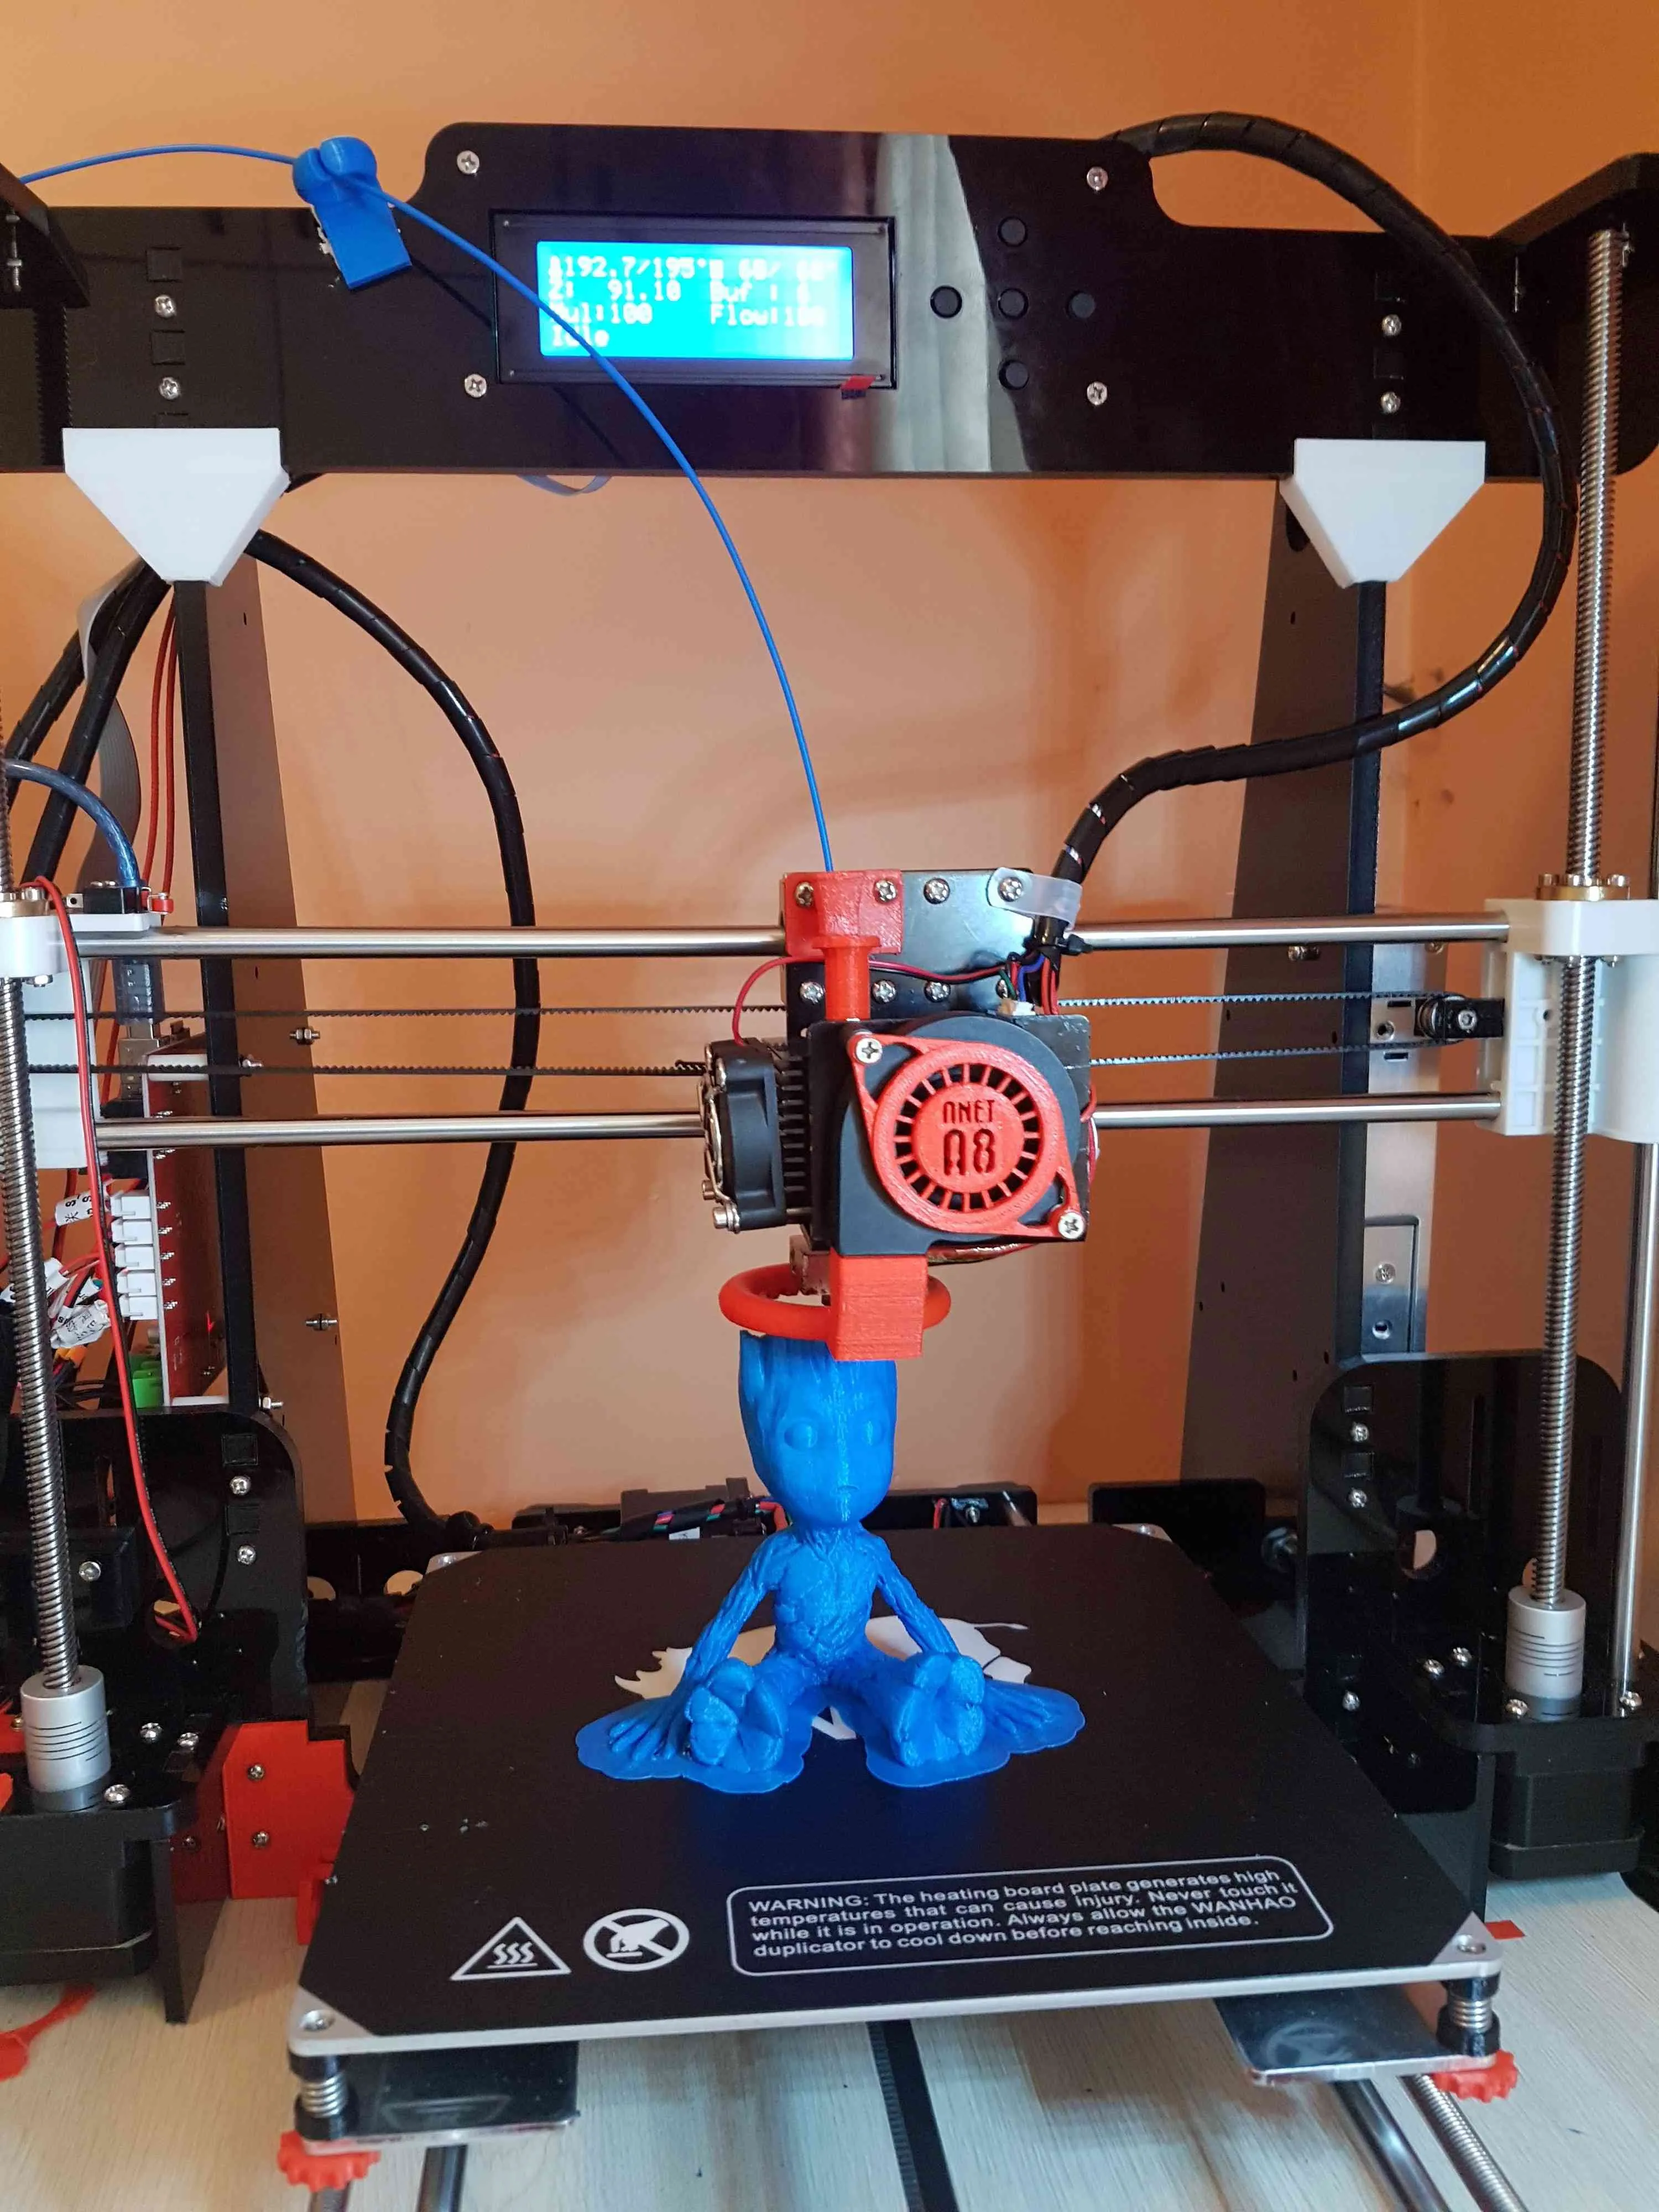
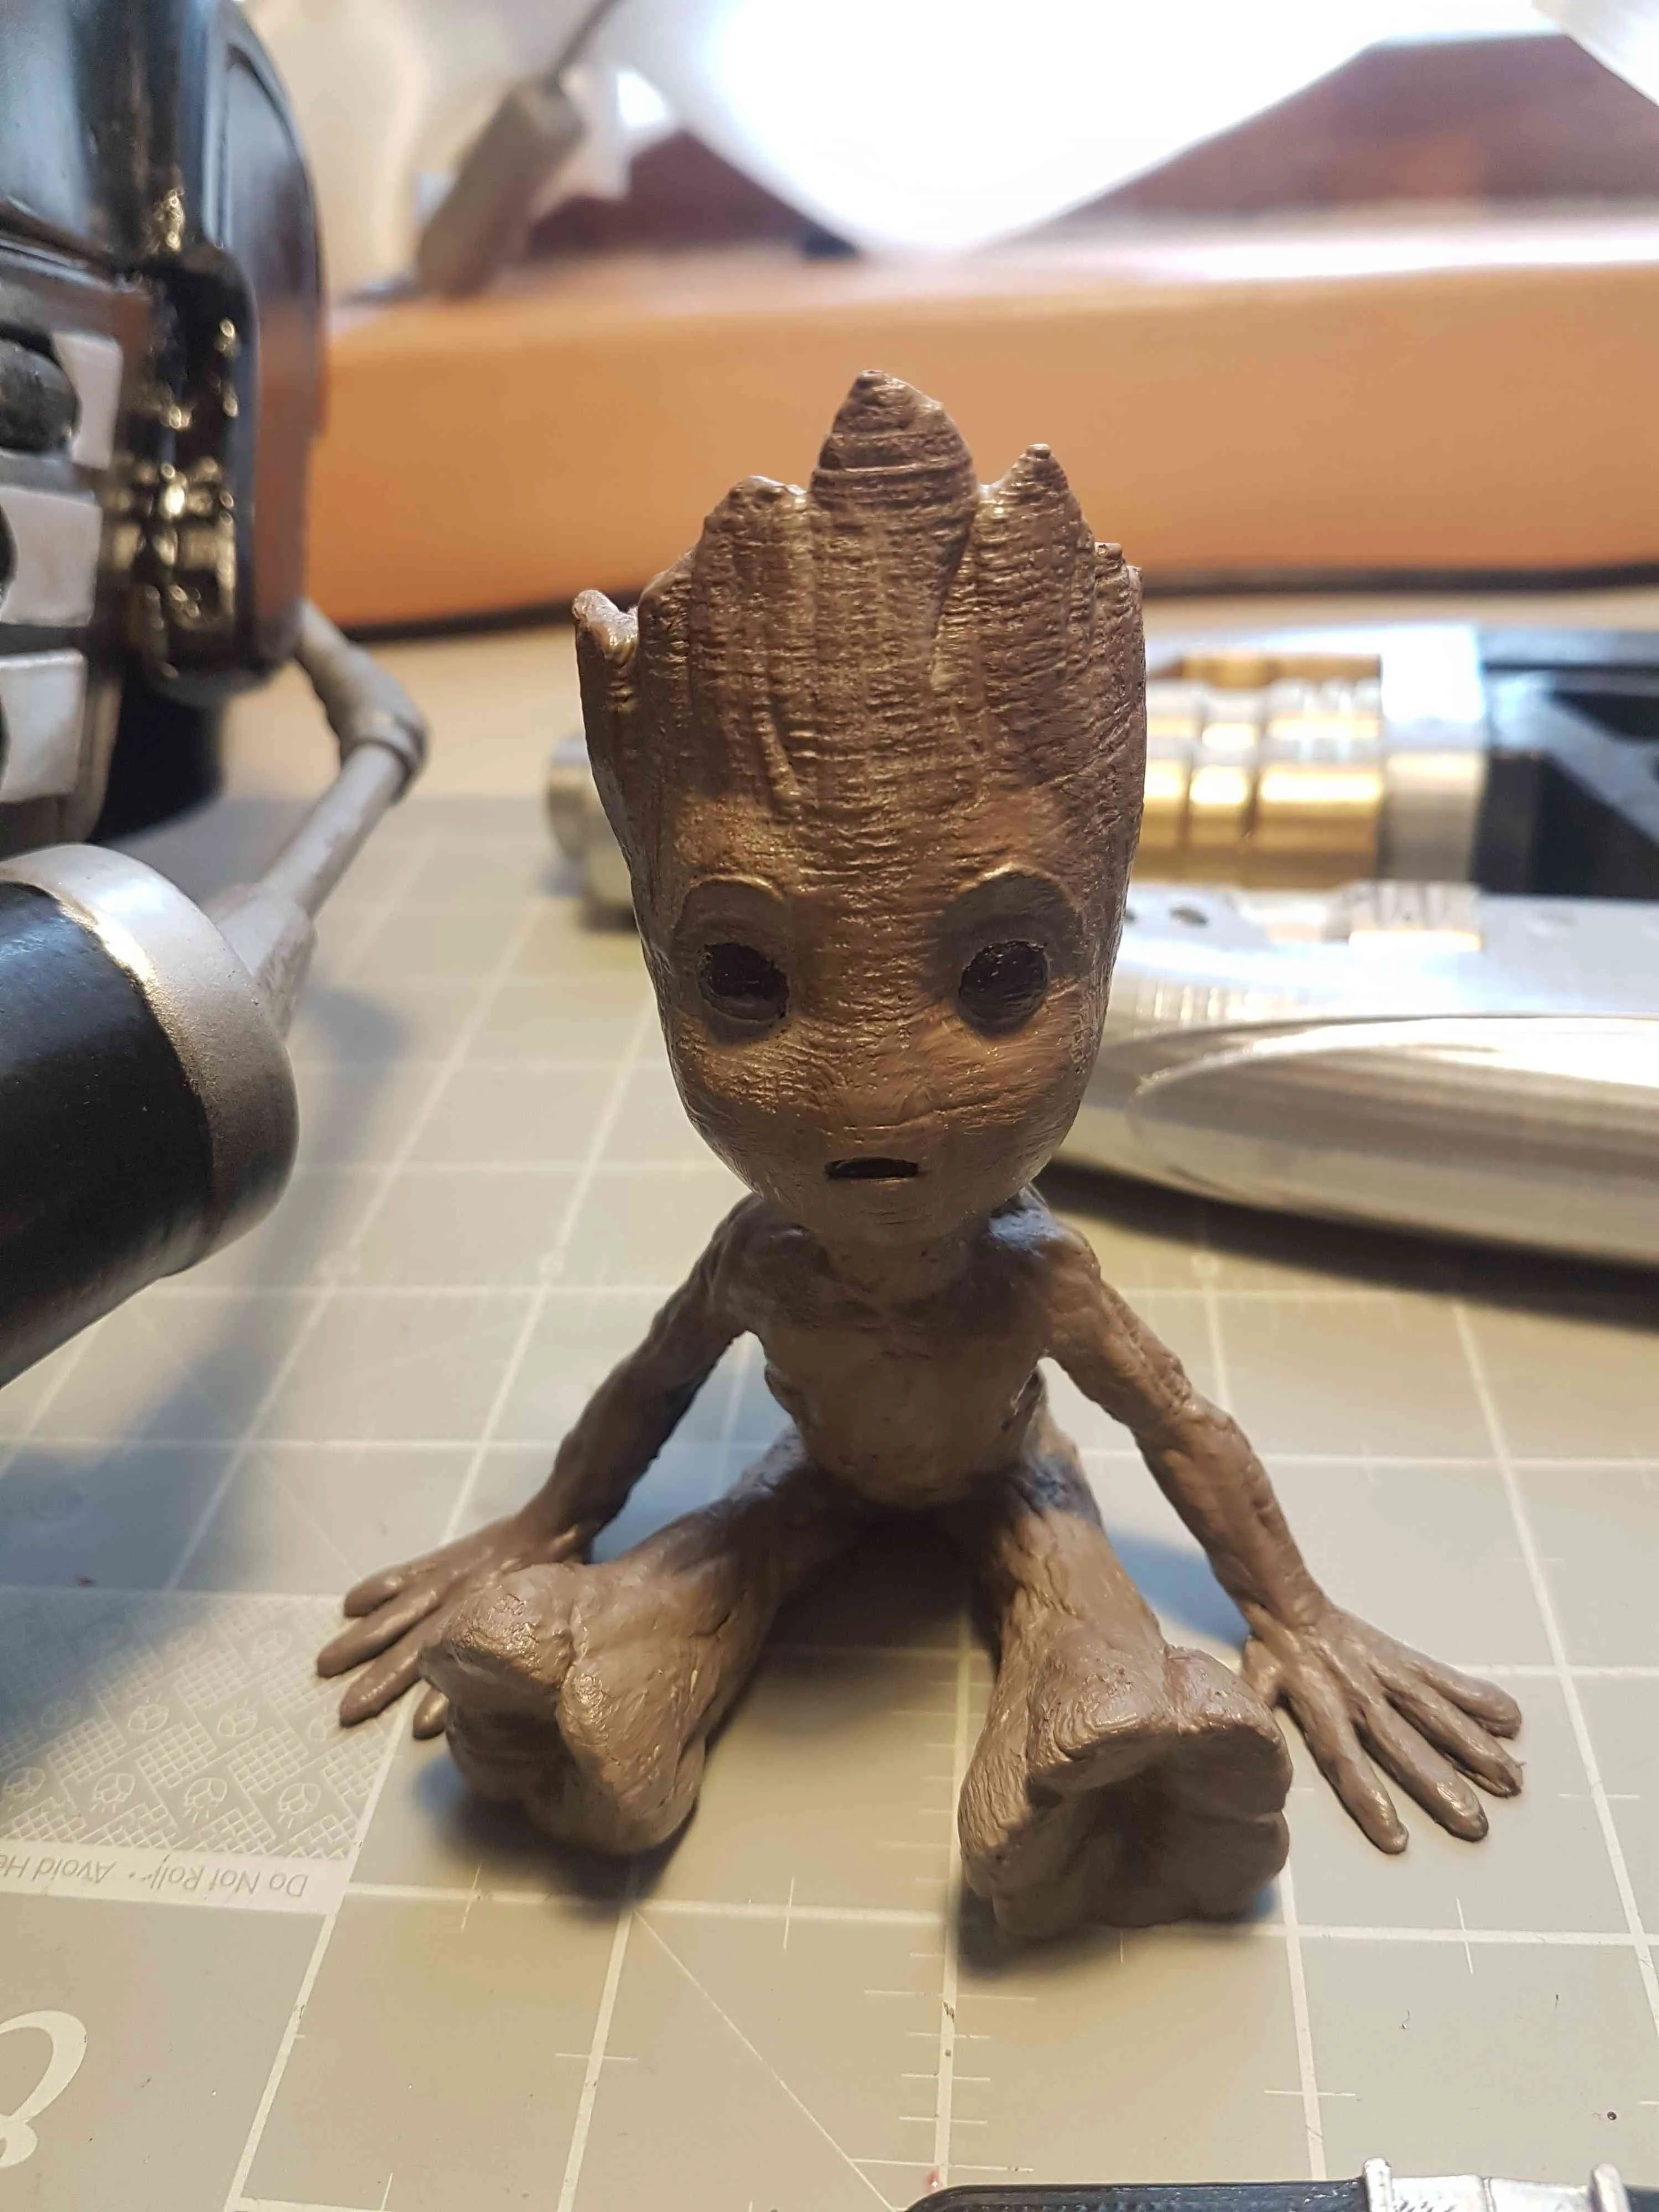
I used blue PLA+ for Baby Groot (I had just bought PLA+ and was getting good quality prints using it). To paint him:
- I didn’t sand him down since I wanted to keep the grainy look he had.
- I first sprayed him with the black primer+paint I used on all the parts for the helmet.
- I then used normal acrylic paint to paint him brown, and later mixed white with the dark brown to make him lighter. I’d never painted anything like this before, so I know there’s lots of room for improvement!
Step 9: Printing the Plasma Guns
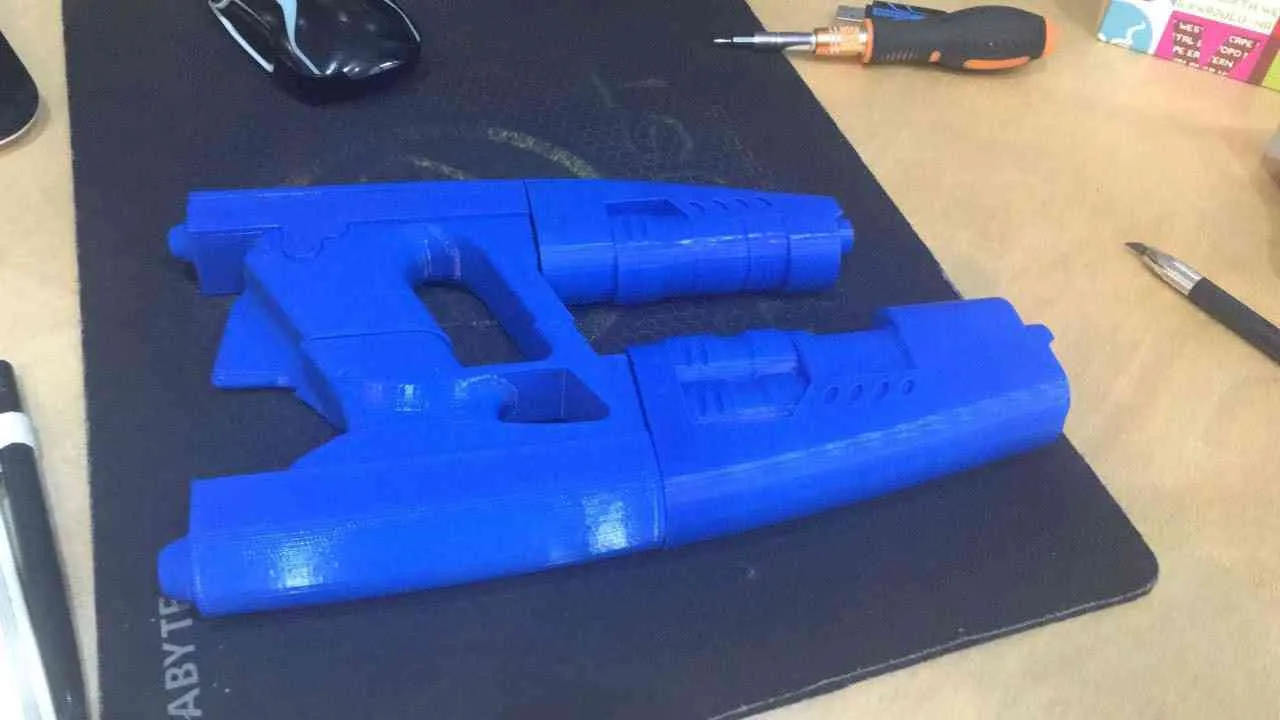
Unfortunately my 3D printer was giving me some trouble the week of the party, but I’d found a gun holster that would work for the plasma guns Star Lord uses! Fortunately, a friend of mine helped me print the guns using his Creality CR-10!
Step 10: All set!
I thoroughly enjoyed myself working on this project! I’m looking forward to many more 3D printing adventures :) I hope this article can inspire or help anyone thinking about doing something like this!