In this post I share how I built a 27″ x 84″ (7ft) tabletop using Red Oak for a friend of mine.
Background
During the pandemic, working-from-home became the way of life for many, including myself. Sitting for extended hours was not great, so I purchased a motorized sit/stand desk. This excluded the tabletop and was cheaper than the all-in-one tables. When looking for a tabletop, I didn’t like the options I saw online because the price vs quality didn’t make sense.
Naturally, I Googled “How to build a tabletop” and that’s how my woodworking journey begun! 😀
Since then, I’ve built a few projects using SPF (Spruce/Pine/Fir) i.e. softwood, however, this is my first project using hardwood – Red Oak.
Materials
- S4S boards of Red oak
- Titebond 2
- Watco Danish Oil – Dark Walnut
- Minwax Wipe-on Polyurethane
- Minwax Finishing Wax Paste
- Scott shop towels
Tools
- 3/4″ pipe clamps
- Mitre saw (to trim off the ends)
- Track saw (to clean up the edges for a seemless glueup)
- Random orbital sander
Design:
- Dimensions: 27″ x 84″ and a final thickness of ~1″
- Wood: Red Oak – I chose this for it’s value and strength
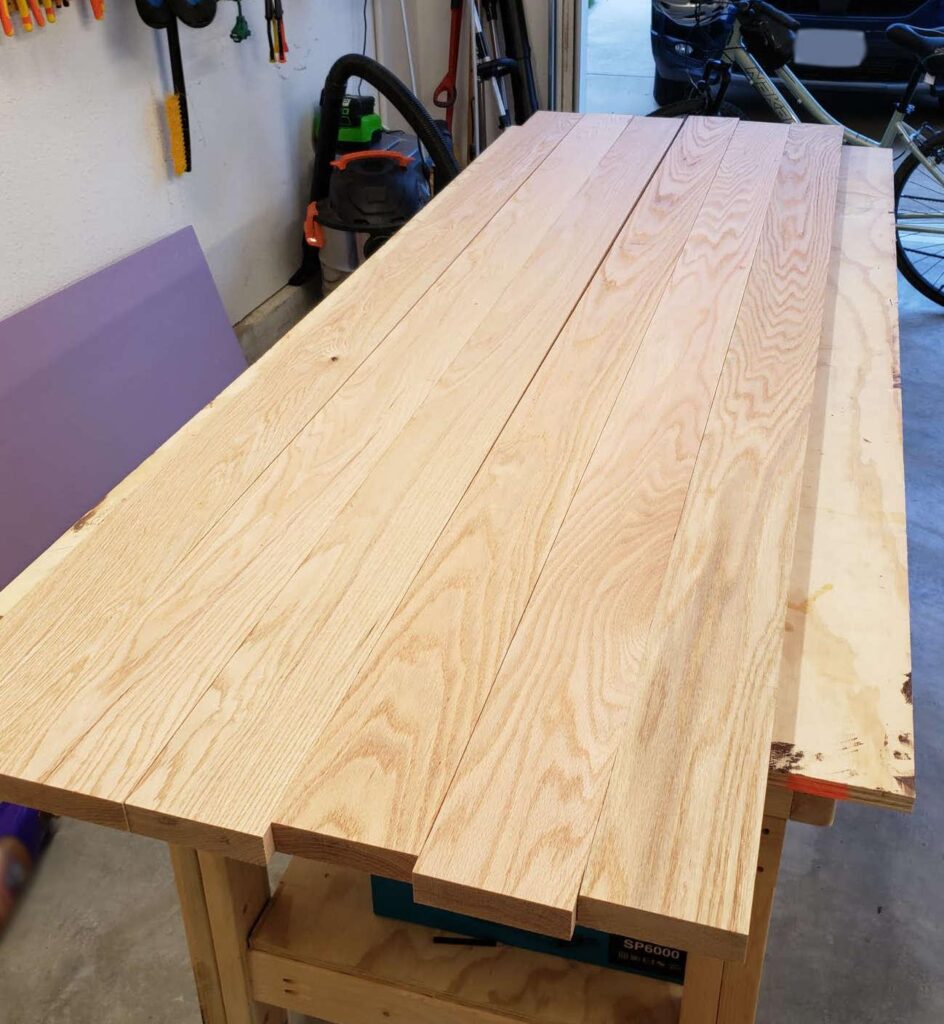
Step 1: Purchase the lumber
My friend and I visited our local hardwood supplier and chose out our boards.
Since I don’t have a planer, jounter or tabletop, we asked the supplier to mill the boards down to 6 * 4.5″ x 7ft boards (S4S).
This meant that all 4 sides will be surfaced and true.
Step 2: Dry fit
Once the boards were ready I did a dry fit and they were all flat and straight.
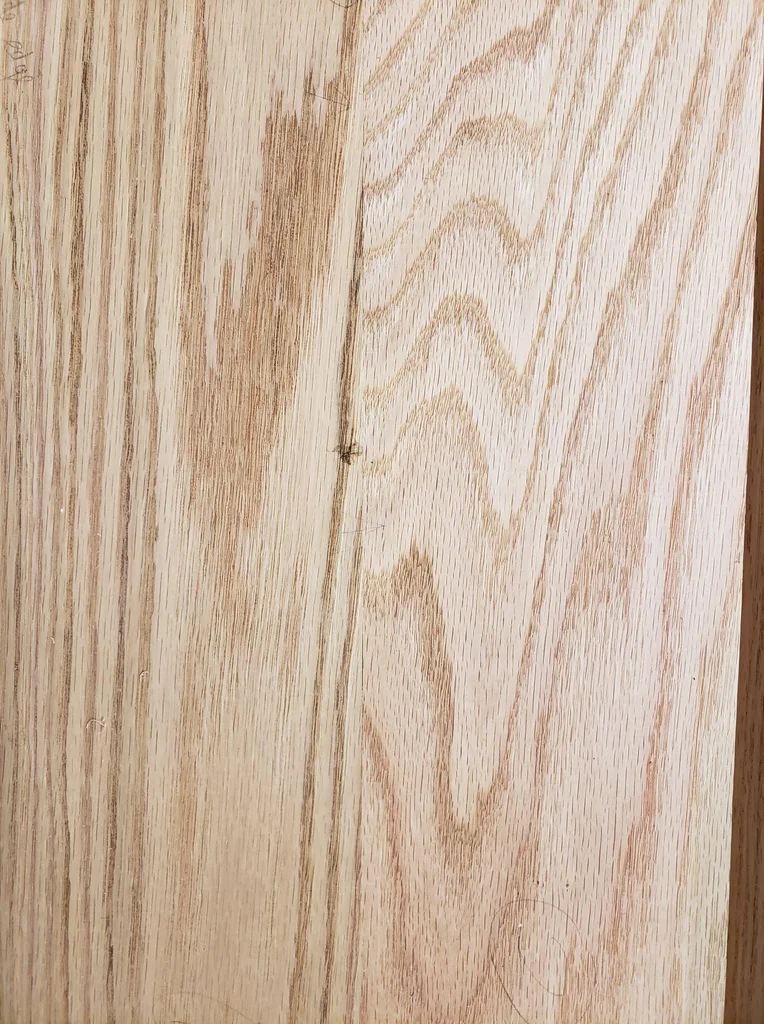
Step 3: Jointing the edges
Since I did’t have a jointer nor a tablesaw, I used my tracksaw to joint the edges.
I clamped some scrap 2x4s on top and below two boards which helped them stay together. You don’t want to clamp these boards together since this will cause the boards to bind and potentially cause kick-back.
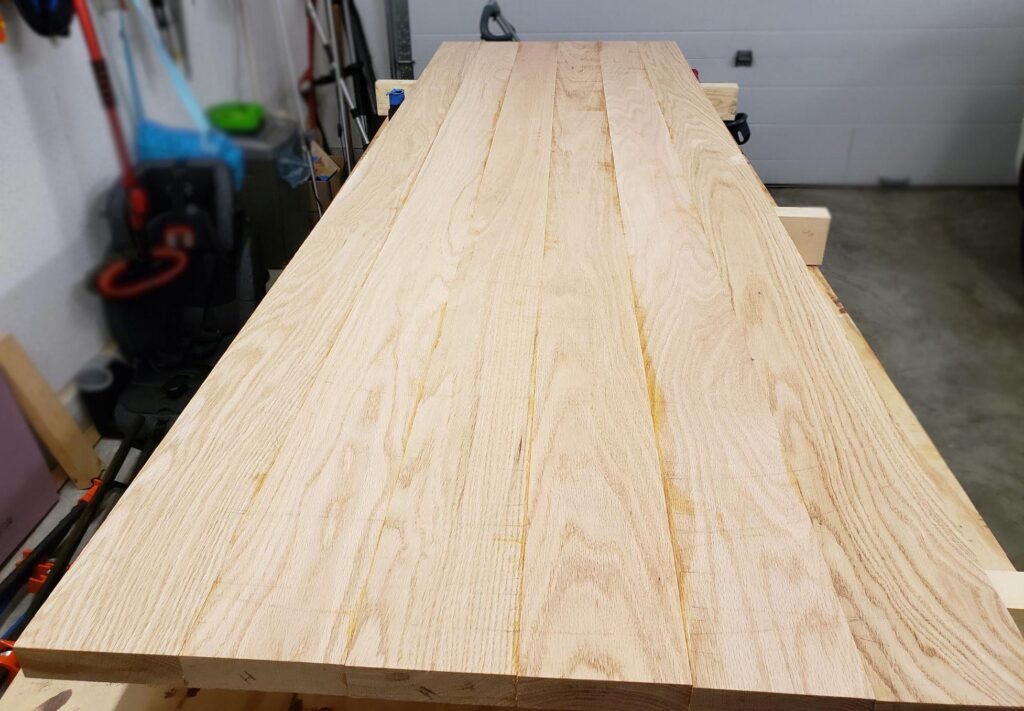
Step 4: Glue-up
Using 3/4″ pipe clamps, I applied a liberal amount of Titebond 2 and clamped them together.
Unfortunately, I did the glue-up after 4-5 weeks since I got the boards from the supplier and some boards had developed a bow.
I tried my best to clamp the boards straight using clamping cauls, however, it wasn’t a perfect glue-up.
All I could do was wait for the glue to dry and try and sand the table flat.

Step 5: Sanding
After scraping off the glue, I started standing.
I used the following grits:
- 4 passes of 80 grit (I needed to remove a fair amount of material since it wasn’t a perfect glue-up)
- 4 passes of 120 grit
- 2 passes of 220 grit
- Sprayed on water (raised the grain) and did another pass of 220 grit
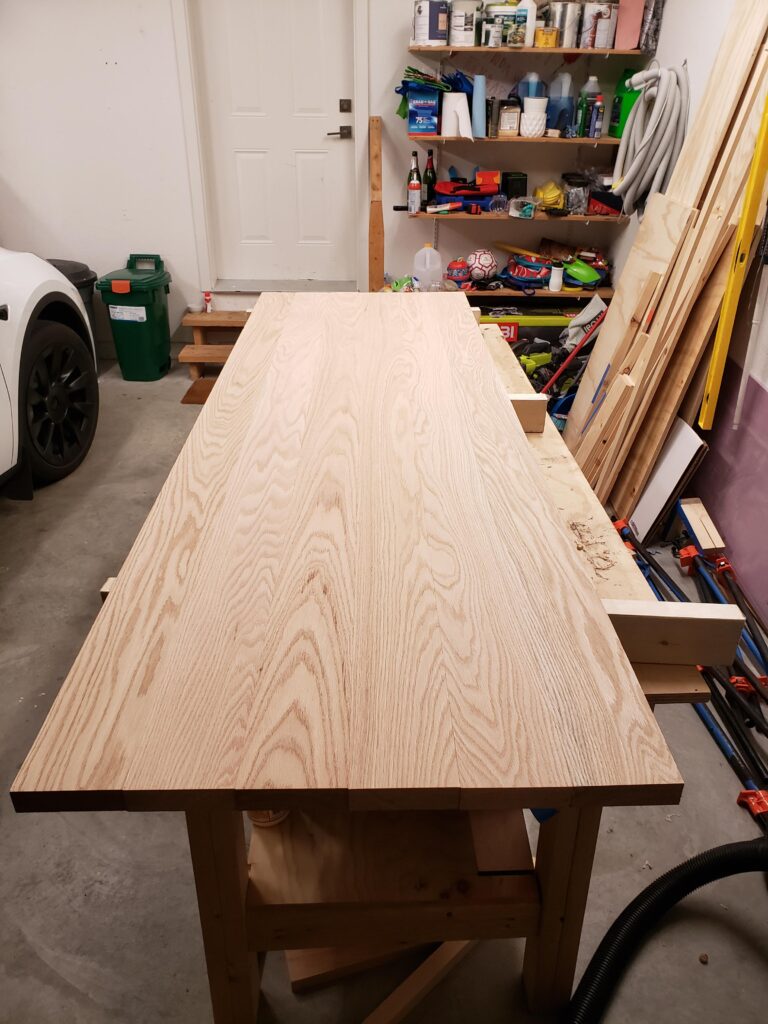
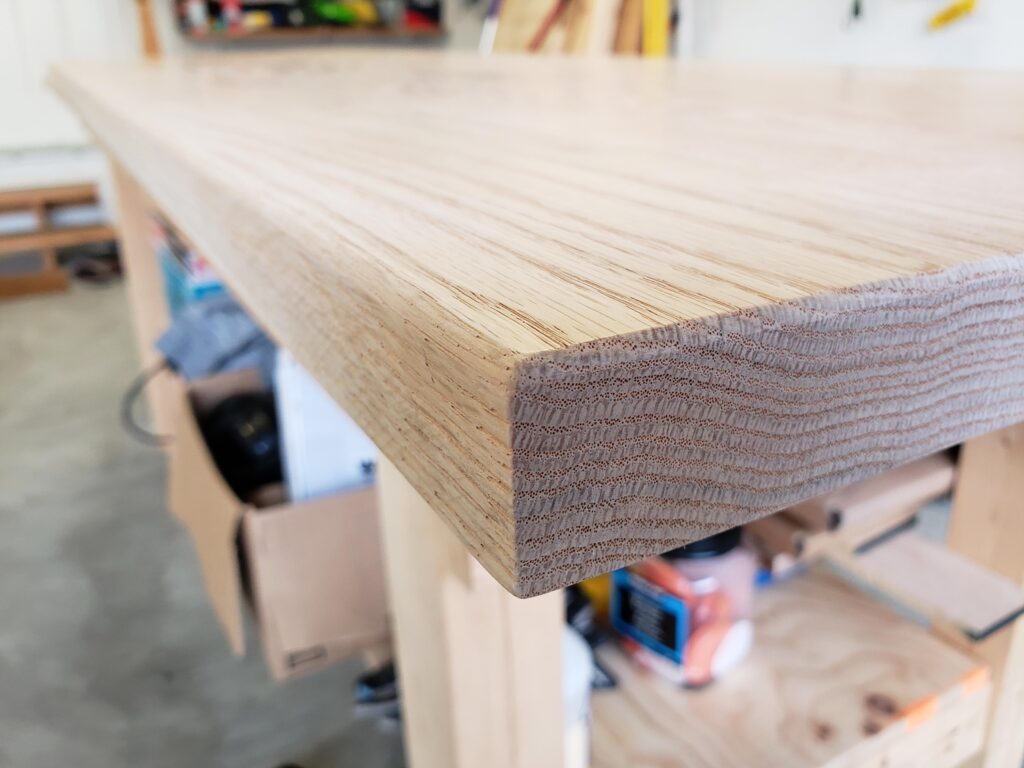
Step 6: Trimming and routing
I trimmed the edges to final length using my tracksaw and routed the edges using a 1/4″ round-over bit
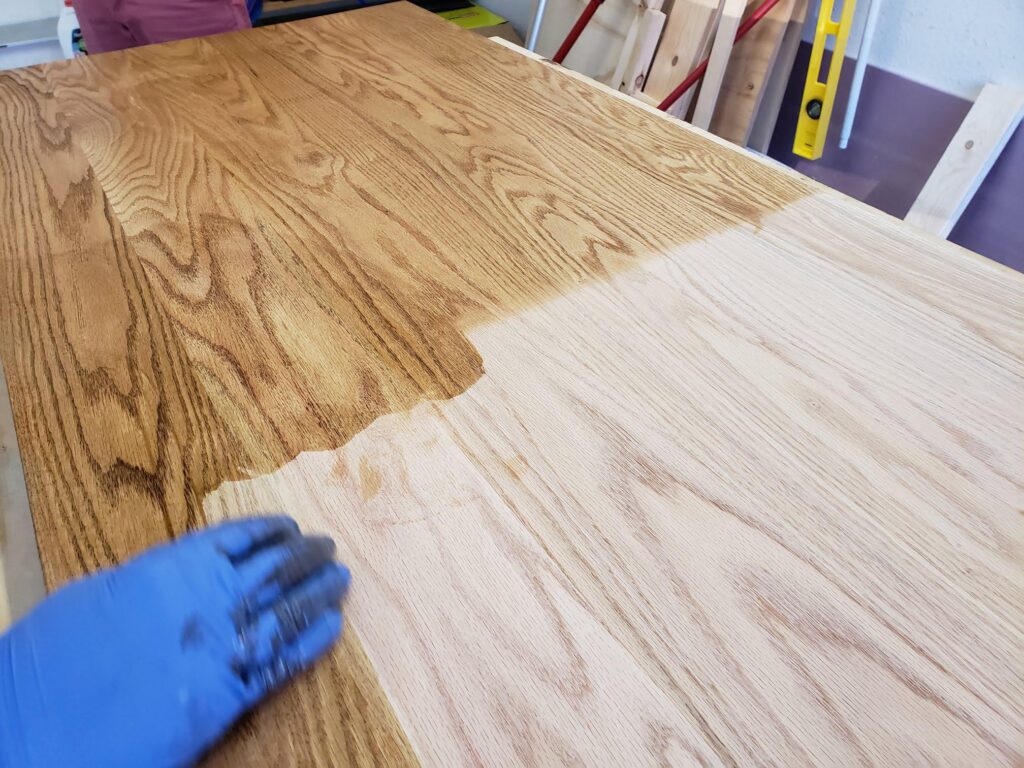
Step 7: Finishing
- 3 coats of Danish Oil (Dark Walnut)
- Wiping off excess between coats
- After the last coat, I left to try for 72 hours
- 3 coats of wipe-on poly
- Finally, I used finishing paste wax
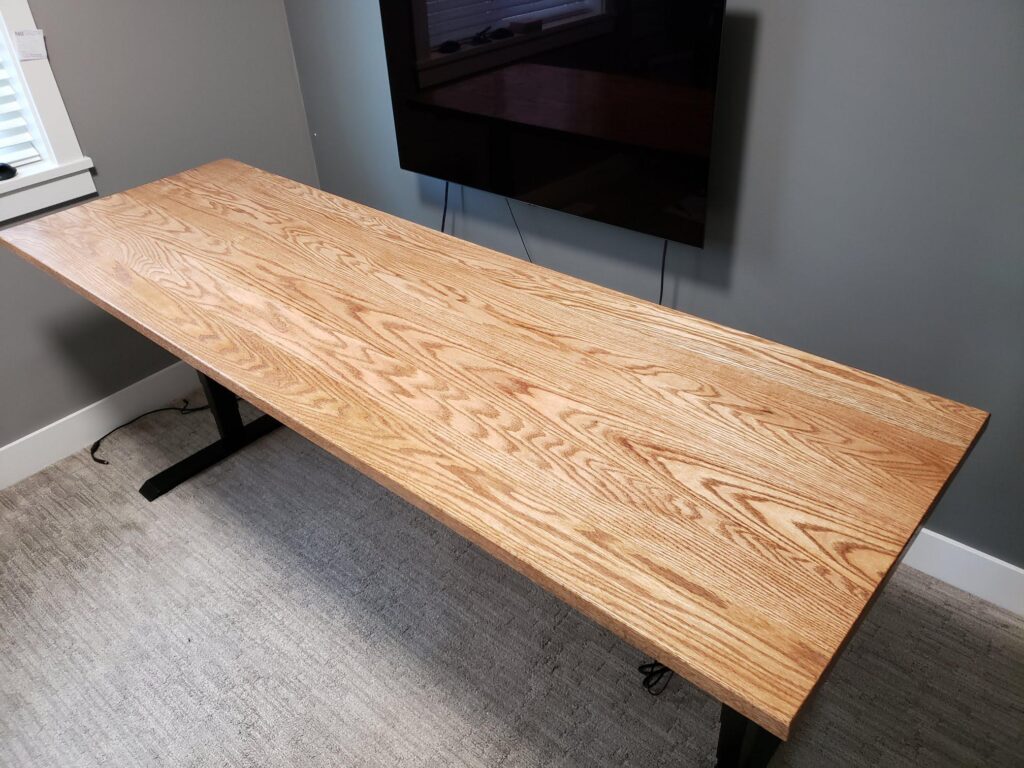
Final Result
Installed on the sit-stand desk
Shared on Instructables as well:
https://www.instructables.com/Red-Oak-Tabletop-for-Sit-Stand-Desk/